WebDAV protokolü ile bir USB sürücüsüne bağlanma
KeeneticOS 3.4 sürümünden başlayarak, bulut tabanlı etki alanı adı hizmetimiz KeenDNS aracılığıyla Çalışmak için WebDAV protokolü desteği uygulanmıştır.
Şimdi, Keenetic cihazınıza bağlı bir USB sürücüsünün dosya ve klasörlerine uzaktan erişim şu adresteki WebDAV protokolü ile mümkün olacak:
https://{keendns-name}/webdav/Önemli
Keenetic'in WebDAV destek özelliği, Internet'e erişmek için özel bir CGNAT IP adresi kullanılsa bile dosyaları uzaktan erişmenizi sağlar.
Kullanıcılar WebDAV protokolü desteğine sahip bir dosya yöneticisi çalıştırmak ve Keenetic'e bağlantıyı yapılandırmak yeterli olacaktır. İnternet üzerinden bir USB sürücüsüne bağlanarak, yerel bir cihazda olduğu gibi dosya ve klasör ekleyebilir, silebilir, kopyalayabilir, taşıyabilirsiniz.
Önemli
WebDAV istemcileri ve çeşitli işletim sistemleri, WebDAV protokolü aracılığıyla aktarılan dosyaların boyutu üzerinde bir sınıra sahiptir. Örneğin, Windows'un varsayılan ayarlanır yükleme boyutu (Microsoft sitesi ile ilgili ayrıntılar için 50 MB bir sınır bağlantısı).
Keenetic Internet Center'dan aktarılan dosyanın boyutu konusunda herhangi bir kısıtlama yoktur.
Connection to the WebDAV server on the Keenetic router is only possible using one of the domains — *.keenetic.pro, *.keenetic.link or *.keenetic.name, using a secure connection with an SSL certificate.
The WebDAV server will only be accessible through the router's domain name with a valid SSL certificate (e.g. https://*.keenetic.link/webdav/).
The connection will not work over the public WAN IP address of the router (e.g. https:/81.82.83.84/webdav/) because the SSL certificate is issued for the domain name, not the IP address.
Önemli
To connect to the router via third-party applications, we recommend creating a separate user account, with access permission to WebDAV Server only. For security reasons, do not use the router's administrator account, provide a user account with restricted rights.
Keenetic üzerinde WebDAV bağlantısı kurma örneği
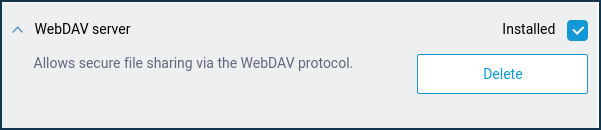
For the WebDAV server to work, the appropriate system component must first be installed in the router. You can do this on the 'General system settings' page under 'Updates and component options' by clicking on 'Component options'.
İnternet merkezinin web yapılandırıcısına ve USB sürücüsünü bağlayın.
Bir USB sürücüsünün Keenetic cihazınıza bağlı olduğunu, KeenDNS etki alanı adının yönlendiriciye kayıtlı olduğunu (örneğimizde ornek.keenetic.pro), "Bulut Üzerinden" modunun kullanıldığını ve İnternet'ten web yapılandırıcısına uzaktan HTTPS protokolü ile erişime izin verildiğini varsayalım. Doğrudan Erişim modu erişiminizin “İnternet Servis Sağlayıcınız” tarafından kısıtlanmadığı durumlarda herhangi bir protokol ile Ev ağınıza erişmenize olanak tanır. KeenDNS ayarlarınızı ISP tarafından IP adresine bağlı olarak Bulut Erişimi yada Doğrudan Erişim olarak yapılandırmalısınız. Örnek makalemizde KeenDNS ile “Bulut Erişim” üzerinden anlatılmıştır.

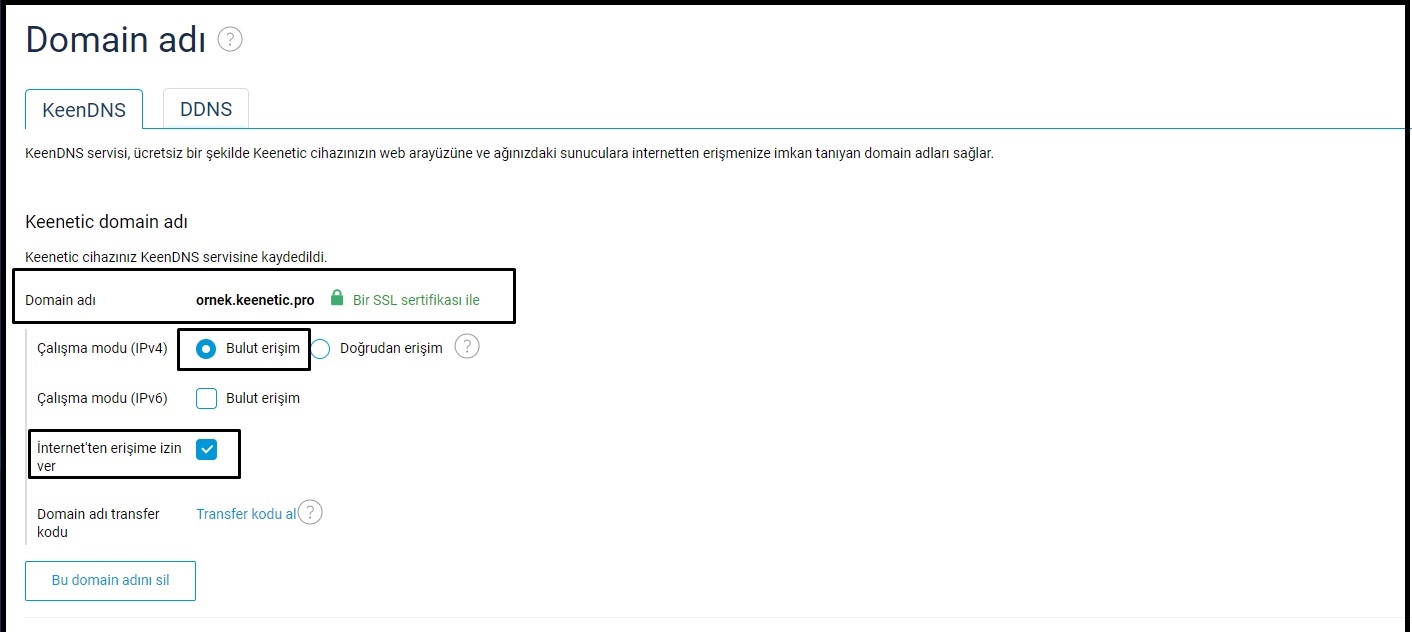

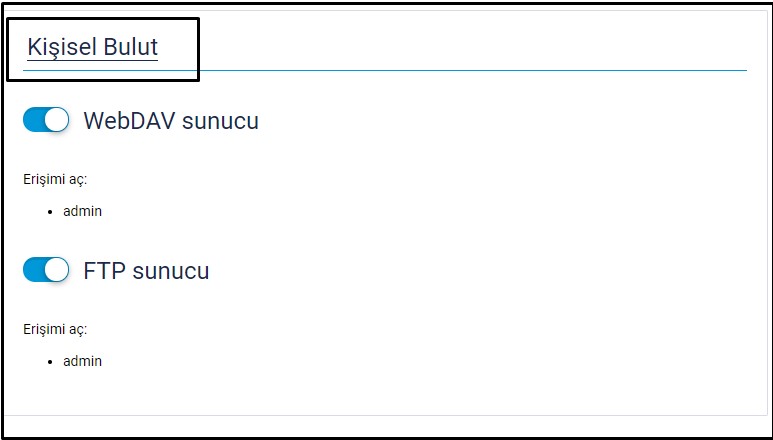
"Uygulamalar" menüsüne gidin. Bu sayfada "Kişisel Bulut" bölümünü bulun ve bölüm başlığını tıklayın.
Görüntülenen "Kişisel Bulut" penceresinde "İnternet üzerinden erişime izin ver" seçeneğini etkinleştirin. "Kullanıcılar ve Erişim" alt bölümünde, yönlendirici için yeni bir kullanıcı hesabı ekleyebilir veya İnternet merkezinin yöneticisine (
admin) erişime izin verebilirsiniz. Belirtilen protokolü kullanarak uzaktan erişime izin vermek istediğiniz kullanıcı için WebDAV seçeneğini açın ve ardından USB sürücüsünde kök dizini belirtmek için "Dizin Seç" düğmesini tıklatın.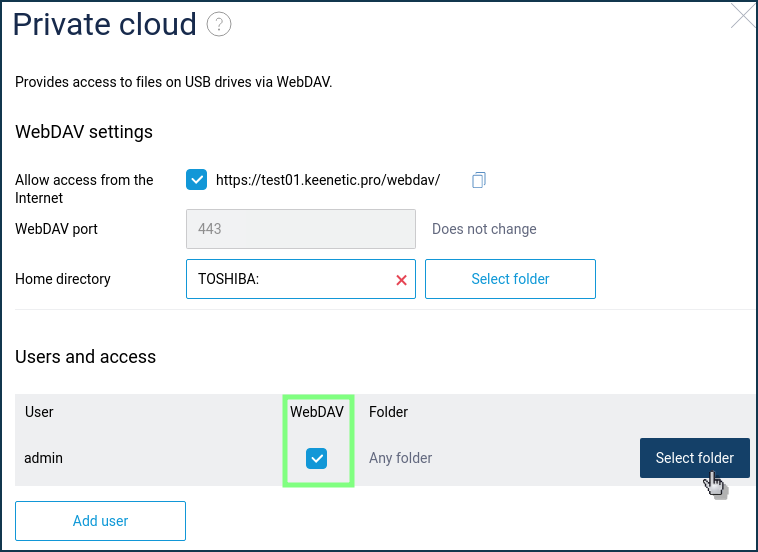

"Kaydet" düğmesini tıklayın.
Önemli
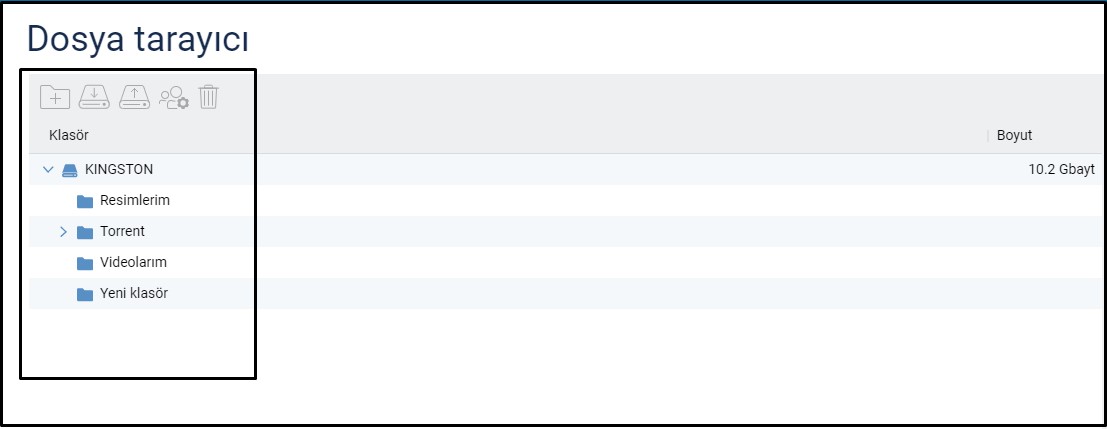
When adding a new user, be sure to assign access rights for the parent directory. Click on 'Select folder' in the pop-up window of the built-in file manager, click on the parent directory, then on the
 button and assign 'Read only' or 'Read and write' access rights. Click on 'Save'. Then select the required folder on the drive that will be accessible to the current user in case of a WebDAV connection. Confirm the folder selection by pressing the 'Select' button.
The 'Ignore access rights' option does not override the requirement to enter a password when connecting to the drive and does not grant anonymous access. Enabling this option allows you to ignore access rights that have already been set.
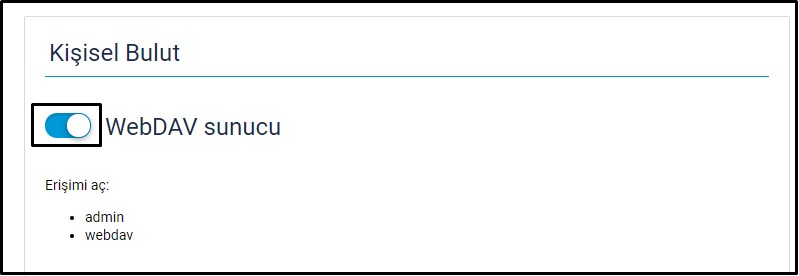
Şimdi Uygulamalar sayfasına geri dönün. Varsayılan olarak, WebDAV sunucusu kapalıdır. Sunucuyu etkinleştirmek için anahtarı Açık durumuna getirin.
Set up a remote connection.
The easiest and most convenient way is to use a simple web browser (Google Chrome, Firefox, Opera, Edge).
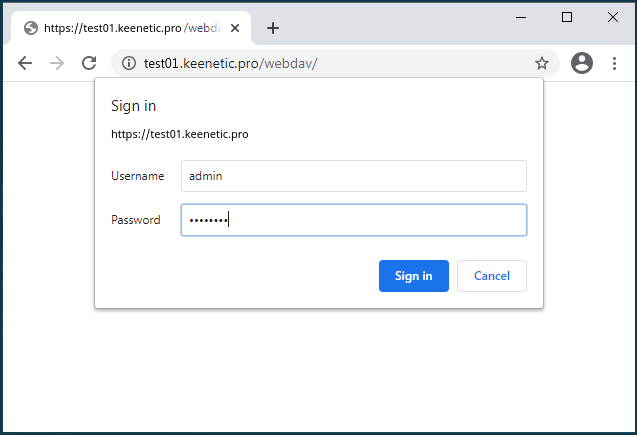
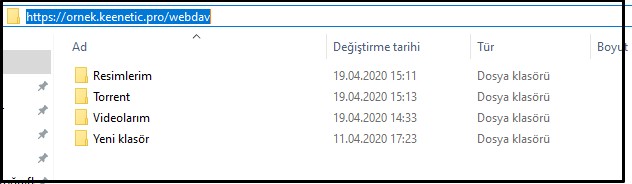
In the address bar, enter your router's KeenDNS URL: https://{keendns-name}/webdav/ to connect to its WebDAV server (for example, https://test01.keenetic.pro/webdav/).
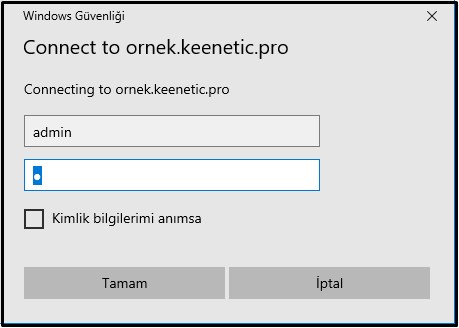
In the login window that appears, use the router's administrator account.
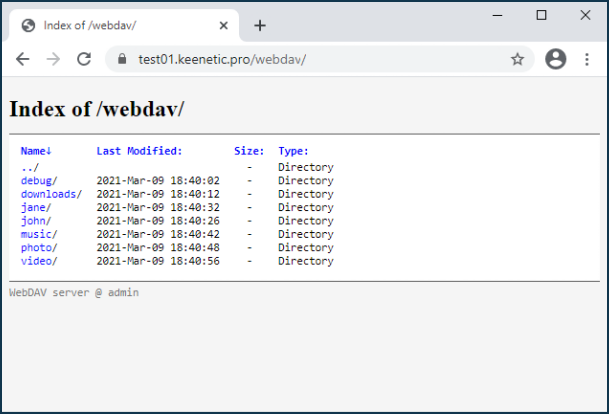
Once successfully connected, you will see the contents of the USB drive.
Önemli
Using a web browser for remote connection, you can only browse and download files. If you need to delete, move or add a file to a USB drive, use a file manager that supports WebDAV.
When connecting via a web browser, the file transfer is performed within the HTTPS protocol, and there is no limit on the size of the transferred file.
Önemli
If WebDAV access to the drive does not work and you see the
403 Forbiddenerror, check whether 'Read Only' or 'Read & Write' access rights are assigned to the parent directory for this user. Go to the 'Applications' page, and under 'USB drives and printers', click on the connected USB drive entry. In the built-in file manager window that appears, click on the parent folder, then on the button and check access rights.
Example of setting up a WebDAV connection from a mobile device
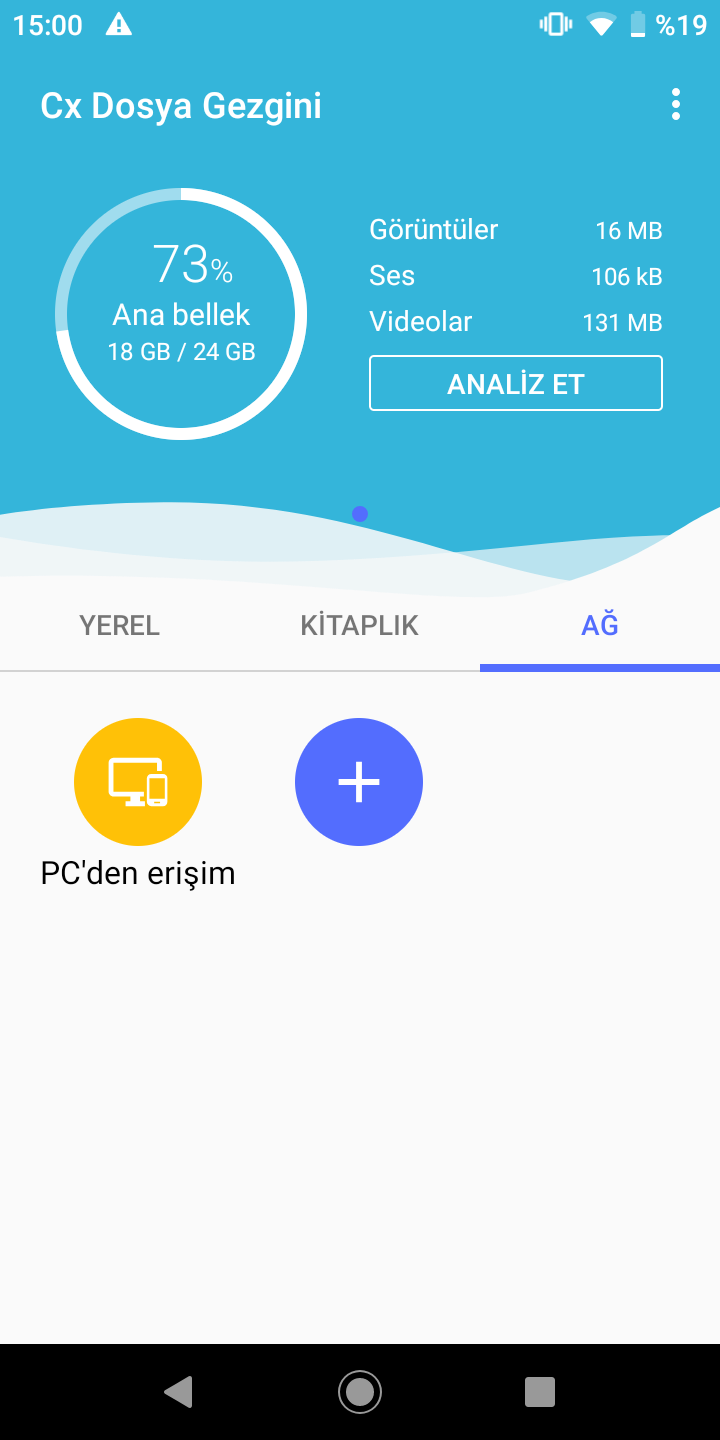
Örneğimizde, Android işletim sistemine sahip bir akıllı telefon üzerinden Cx Dosya Gezgini isimli uygulamayı kullanacağız (ancak Total Commander, ES Explorer ve diğerleri de olabilir, önemli olan kullandığınız uygulamanın WebDAV protokolünü destekli olmasıdır).
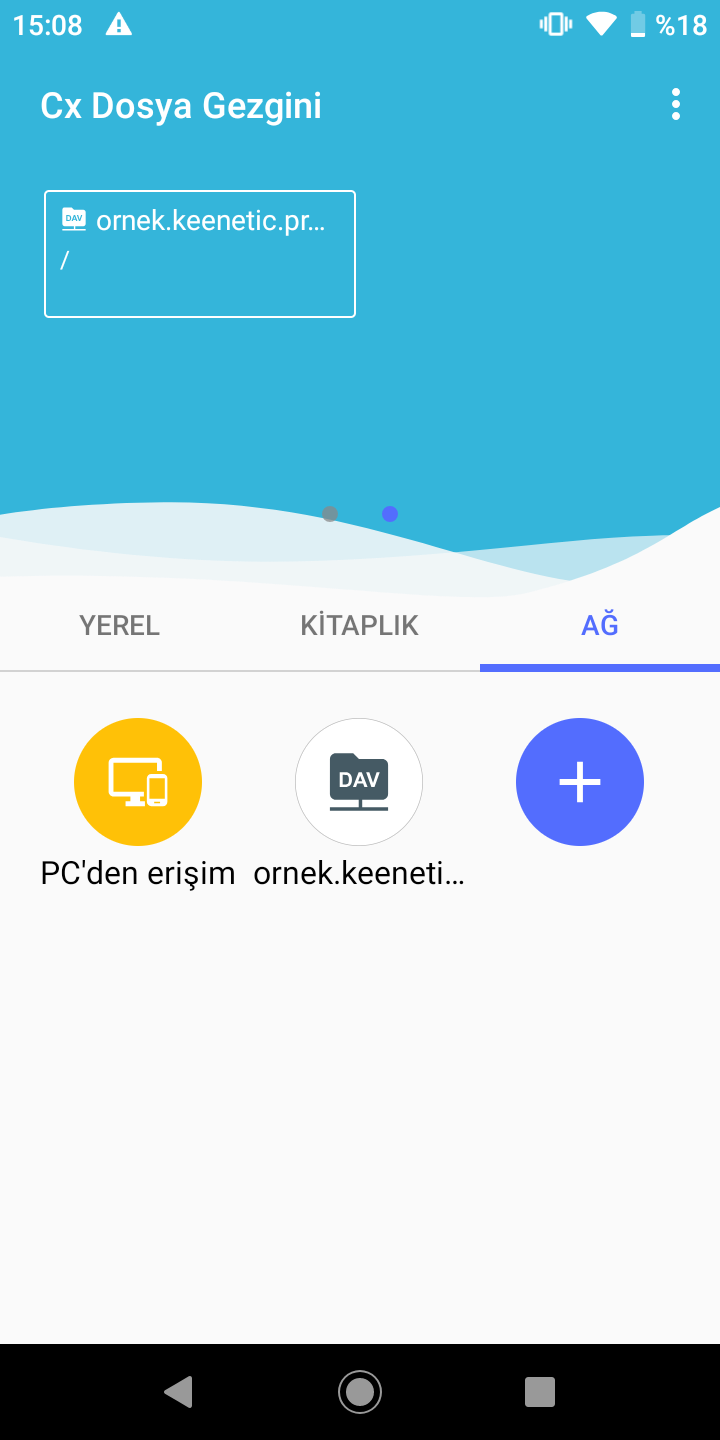
On the 'Network' tab, add a connection.
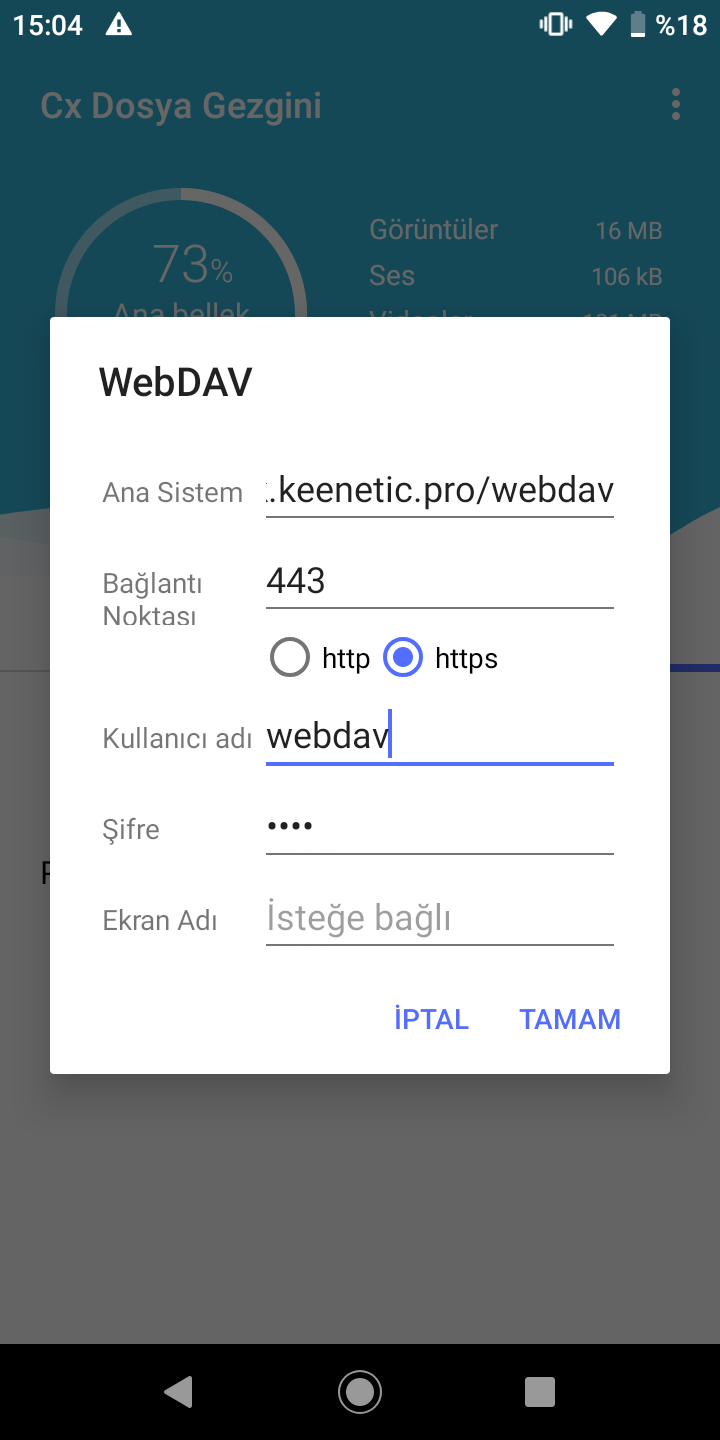
"Uzak Ağlar" sekmesine gidin ve "WebDAV" protokolünü seçin.
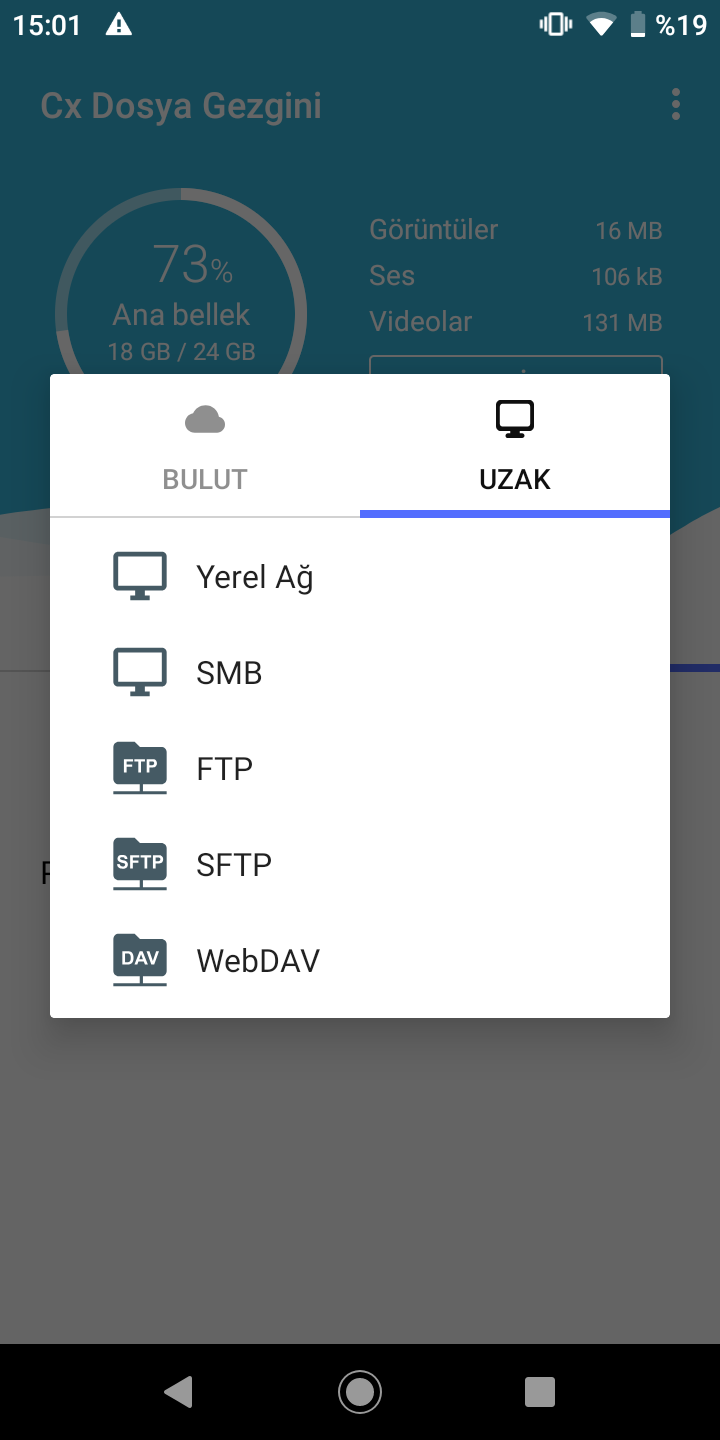
"Ana bilgisayar" alanında, yönlendiricinin adresini (örneğimizde ornek.keenetic.pro/webdav/) ve kullanıcı adı yöneticisi ile yönetici şifresini belirtin.
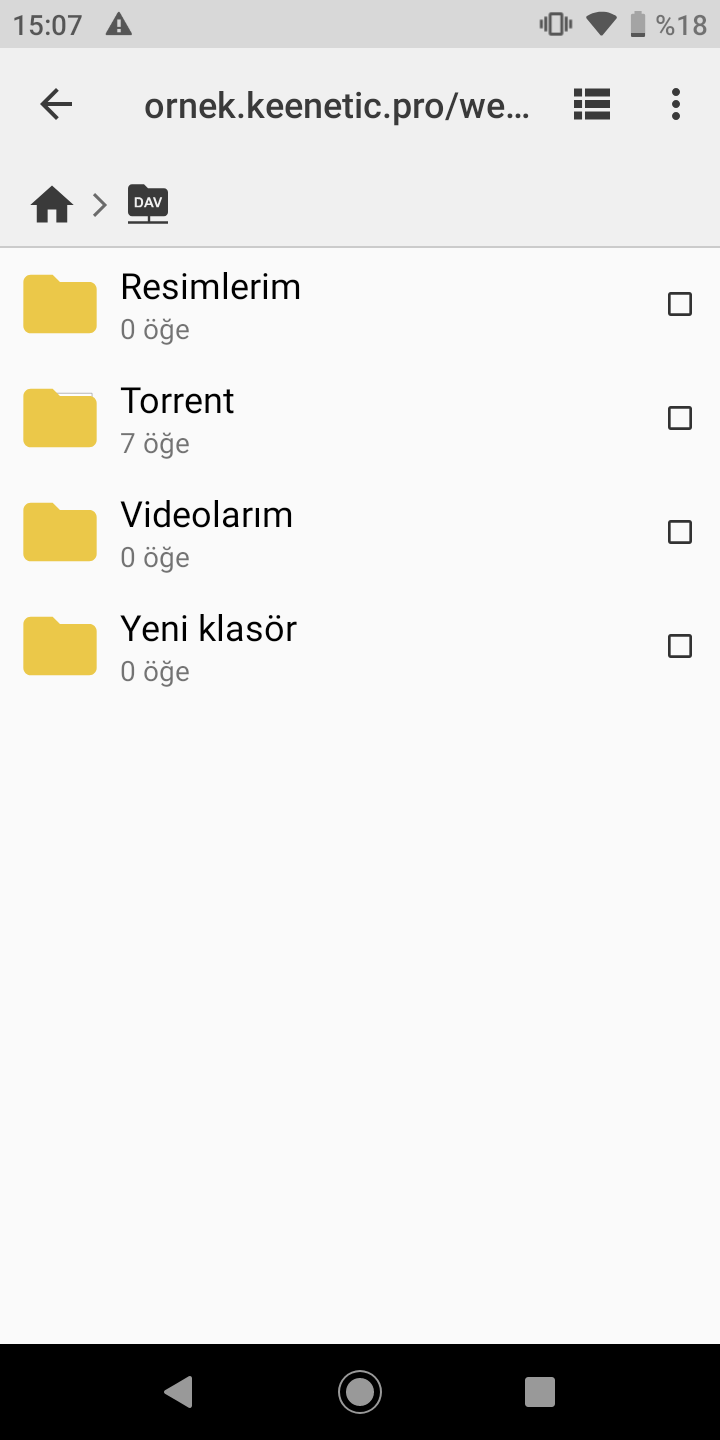
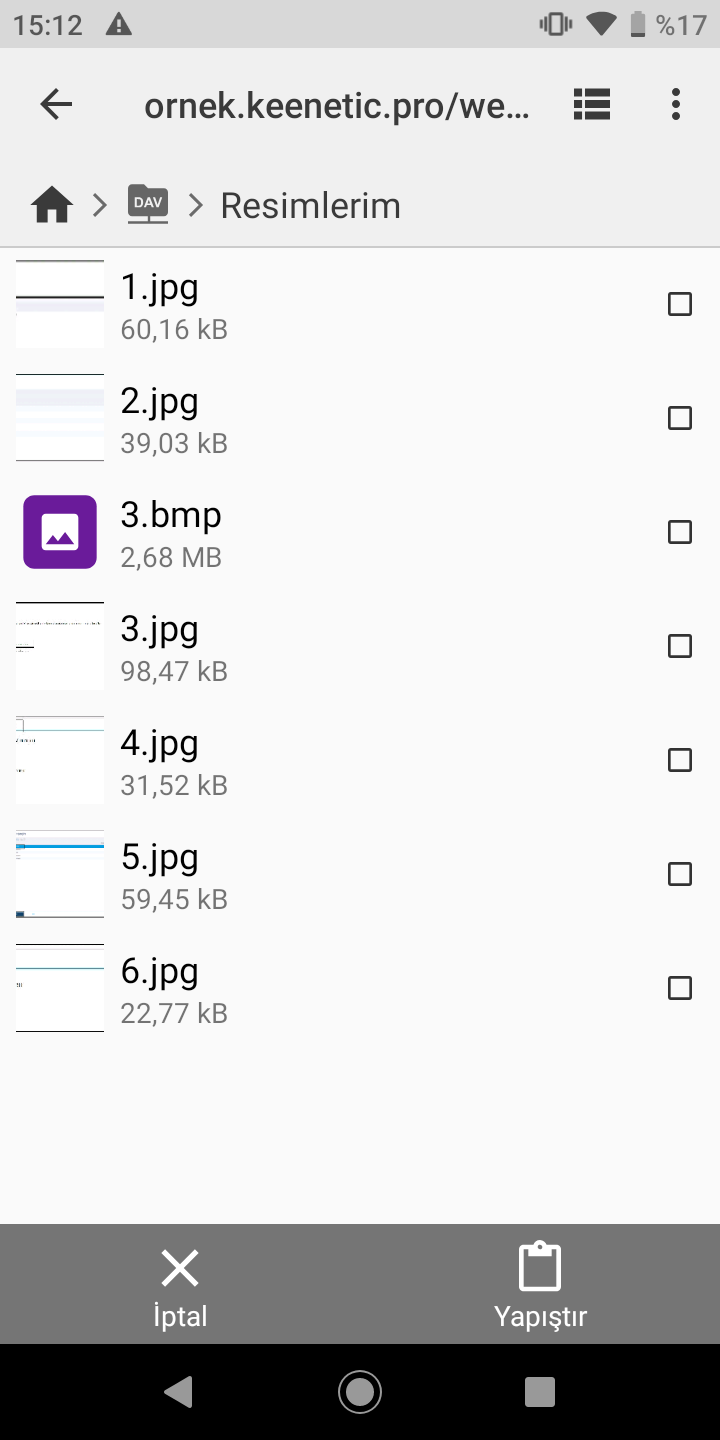
Bağlantı başarıyla kurulduktan sonra, USB sürücüde klasör ve dosyalar görürsünüz.
Example of setting up a WebDAV connection from a PC
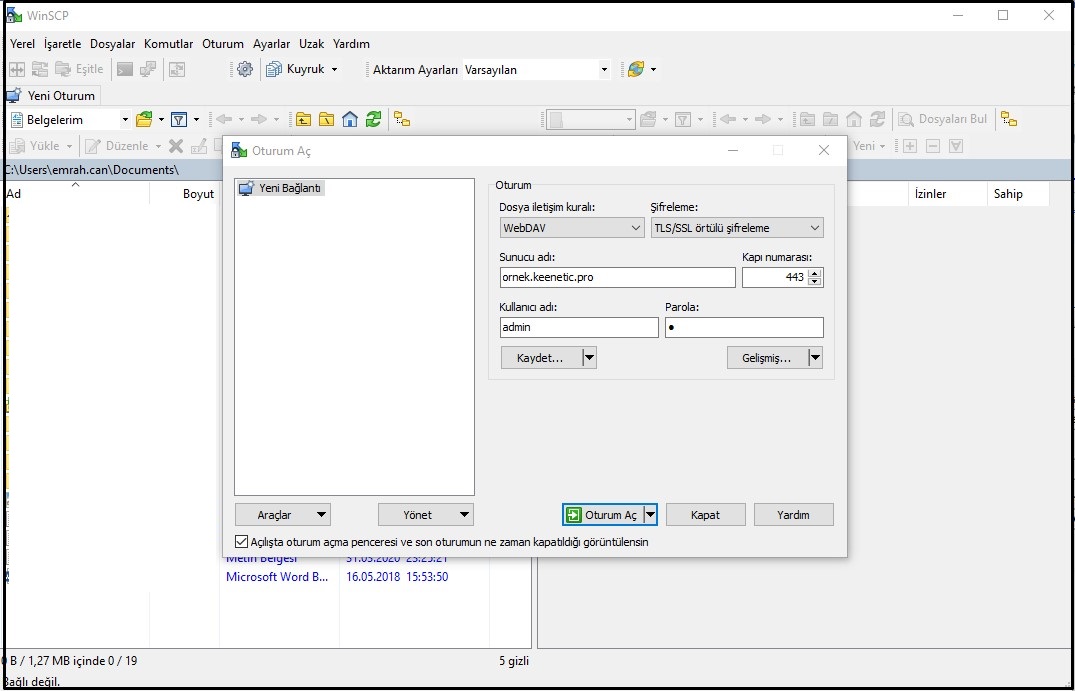
Bilgisayar kullanıyorsanız, WebDAV'ı destekleyen herhangi bir dosya yöneticisi veya istemci kullanın (örneğin, Windows 10'da Explorer , Total Commander, WinSCP veya Nautilus, Linux'ta Thunar vb.).
Windows Gezgini 10'dan örnek:

Adres alanında, https://{keendns-name}/webdav/ biçiminde bir bağlantı kullanın.
Önemli
WebDAV protokolü aracılığıyla Explorer üzerinden erişim Windows 10 işletim sisteminde çalışır .. Windows'un diğer sürümlerinde hatalar oluşabilir. Ayrıntılar linkine tıklayarak Microsoft web sitesinde görüntüleyebilirsiniz.
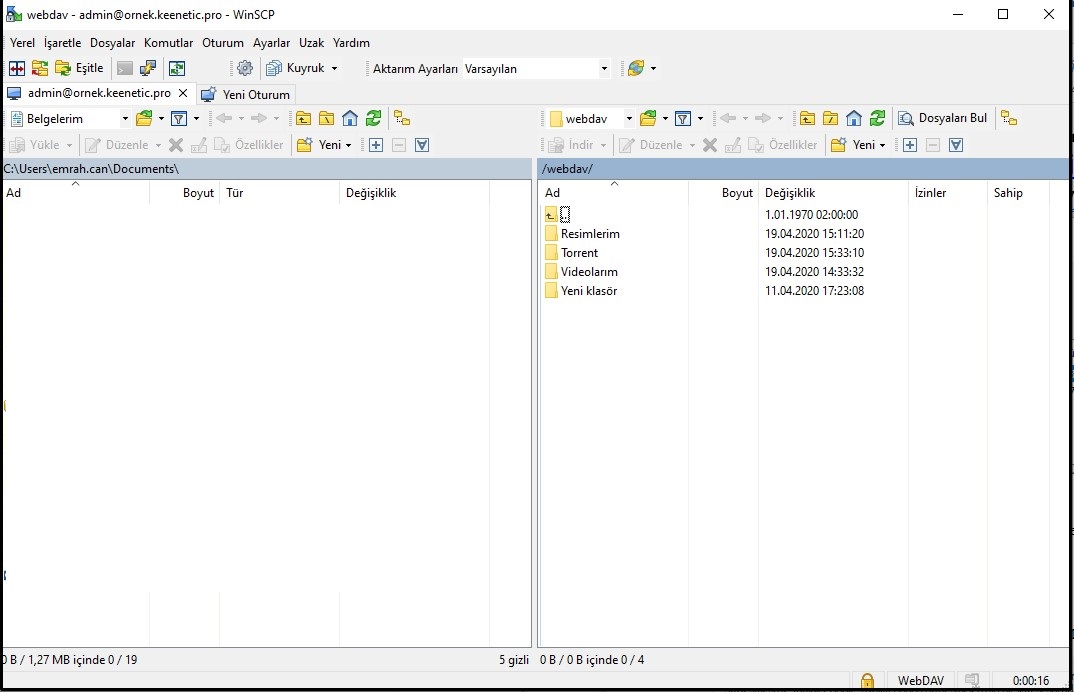
WinSCP'den bir örnek:
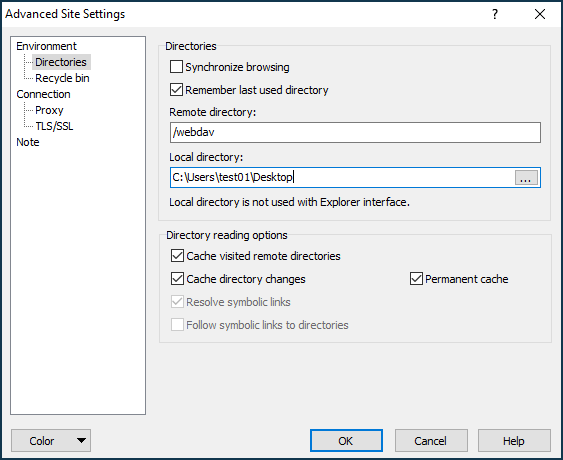
Be sure to specify /webdav in the 'Remote directory' field in the connection settings (the connection will not be established without this setting).
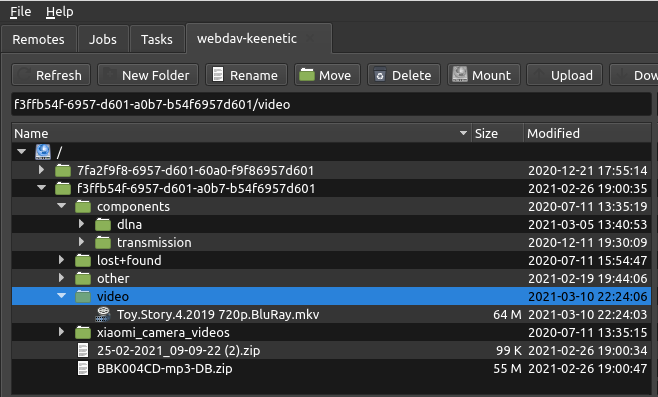
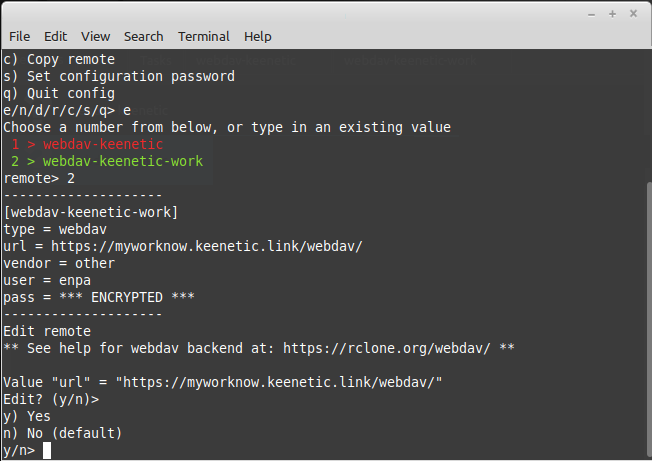
Rclone Browser (based on the console utility rclone):