The default setting for network adapters in Windows is automatic IP address obtaining, but if you have changed this setting, you can restore it, as shown below.
In Windows 7, go to Start > Control Panel > Network and Sharing Center and click 'Local Area Connection'.
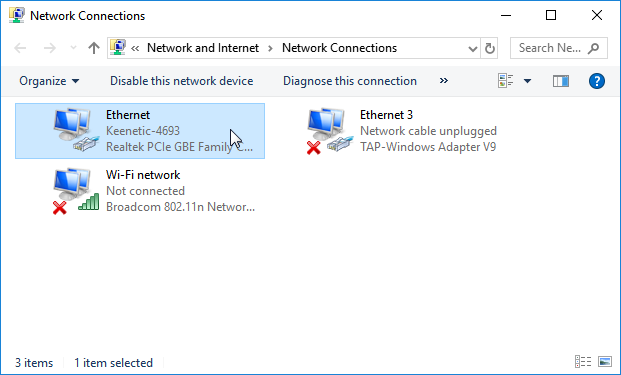
In Windows 10, click Start > Settings > Control Panel > Network and Internet > Network and Sharing Center > Change adapter settings.
In the list of network connections that opens, select the connection you are using to connect to your ISP (wireless or LAN). Double-click on the connection.
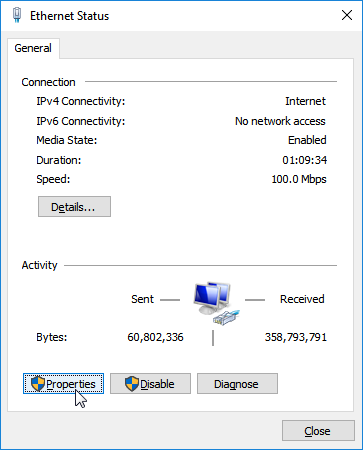
In the new window, click on the 'Properties' button.
Select 'IP version 4 (TCP/IPv4)' and click 'Properties'. In the Protocol Properties window, select 'Obtain an IP address automatically' to automatically assign a dynamic IP address from the router (where the DHCP server is turned on) to the computer's network adapter.
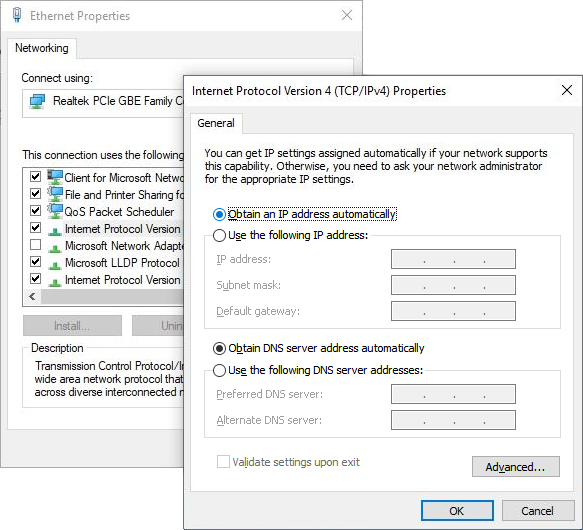
If necessary, you can manually specify a static IP address (select 'Use the following IP address' and enter the IP address and mask in the 'IP address' and 'Subnet mask' fields, respectively).
Importante
The computer's IP address must belong to the same subnet as the LAN IP address of the router. For example, if your Keenetic has an IP address of 192.168.1.1 (set by default) with a mask of 255.255.255.0, the computer's IP address must be between 192.168.1.2 and 192.168.1.254 with the same mask.
For information on how to view the network settings (ISP's IP address, MAC address, and gateway IP address) used on your computer's network adapter, see 'How to check the network adapter settings in Windows (IP address, MAC address, and default gateway)'.