Some Keenetic models are equipped with USB ports to which USB printers can be connected, and a built-in print server in the router will help make it accessible for all home devices in your local network.
Importante
If you connect a multifunctional printer (MFP — a device that combines the functions of a printer, scanner, copier) to a Keenetic router, it will only work as a network printer (working as a network scanner is not supported). Scanning over the network when the MFP is connected via USB is not implemented. The reason is that it is not enough for scanners, unlike printers, to provide a '
bridge' between USB and the printer driver on the PC. Each scanner manufacturer uses its own driver and protocol/control language to work with the scanner. Generally, manufacturers do not reveal details of their driver implementations.GDI printers are not supported. GDI (Graphics Device Interface) printing system is usually used on budget printers. A GDI printer is sometimes called a Windows printer. They use a special printer driver when computer resources are used to process print commands and rasterization data.
CAPT printers are not supported. CAPT (Canon Advanced Printing Technology) is a type of GDI. You will find an example list of such CAPT printers in the article 'Supported printers list'.
To connect a USB printer to a Keenetic device:
Connect the printer to the USB port on the router. When connecting the printer, it is recommended to use a direct connection (do not use a USB extension cord). If necessary, use a short USB extension cord
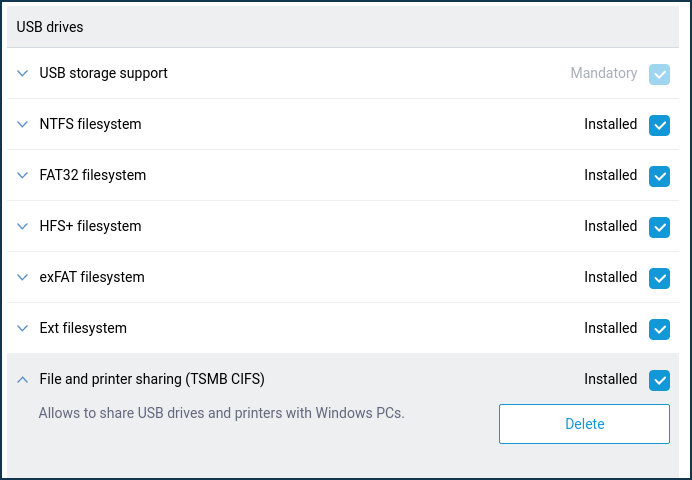
up to 1 meter.Ensure that the 'File and printer sharing (TSMB CIFS)' system component is installed. You can do this from the 'General system settings' page under 'Updates and component options' by clicking on 'Component options'.
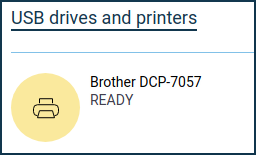
On the 'System dashboard' page, ensure that the connected printer is detected and visible in the 'USB drives and printers' information panel. The printer status must be 'Ready'.
In this example, we connect the Brother DCP-7057 printer.
Click on the link 'USB disks and printers' to go to the 'Applications' page.
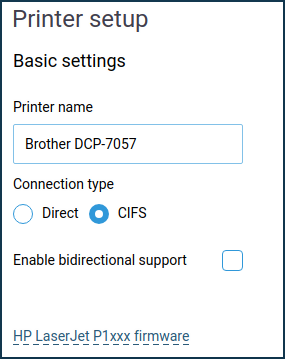
on the 'Applications' page, you can manage the connected printers. Clicking on the connected printer will take you to the printer's advanced settings.
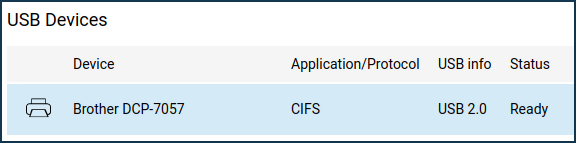
By default, the printer is connected via the CIFS protocol, and the bidirectional mode is disabled.
For HP printers of the LaserJet P1xxxx series, you can upload the firmware in
*.dlformat to the router. Click on the 'HP LaserJet P1xxxx firmware' link, specify the firmware file and click 'Choose file'. Some firmware for these printers can be found in the archive fw_dl_hp_laserjet_1xxx.zip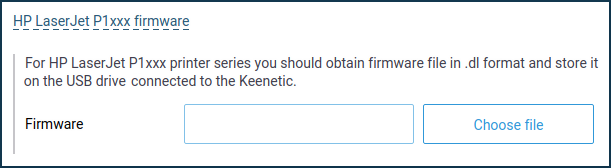
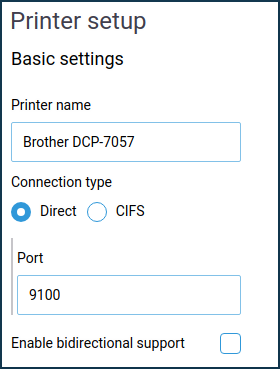
As mentioned above, CIFS is the default printer connection, but if your printer fails to print, change the connection type to 'Direct'. For details on setting up this type of connection, please refer to the 'Connecting a printer in Direct mode' manual.
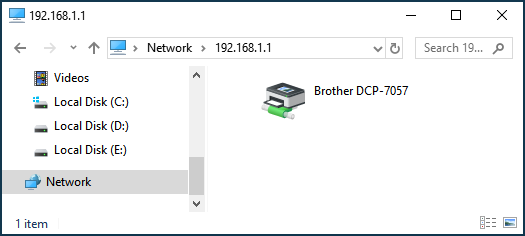
Now in Windows, in the file manager address bar, enter the local IP address of the router or its network name, starting with
\\(in our example, it is\\192.168.1.1), and make sure that the printer can be seen there.Importante
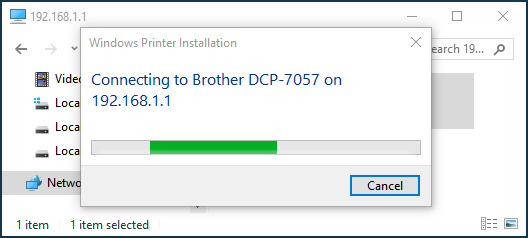
The printer will only be visible when using a CIFS connection type. Click on the printer icon.
Install the printer driver during the connection procedure.
Importante
If you see an error when you click on the printer icon, you will most likely need to use the 'Direct' connection type to operate the printer. Please refer to the Connecting a printer in Direct mode article.
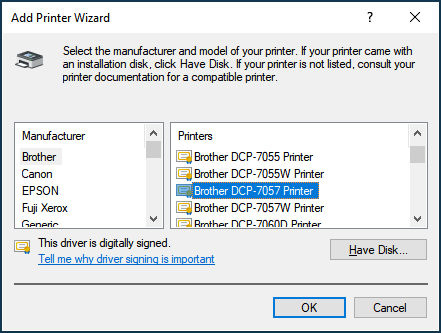
Select a printer from the list. If the required printer is not on the list, install the driver from a disk. Normally, printers come with an installation CD. If you do not have the manufacturer's installation CD, you can download a driver for your printer from the Internet (for example, from the manufacturer's website). Download the driver, unpack it to a folder on your hard drive and then specify the path to the driver.
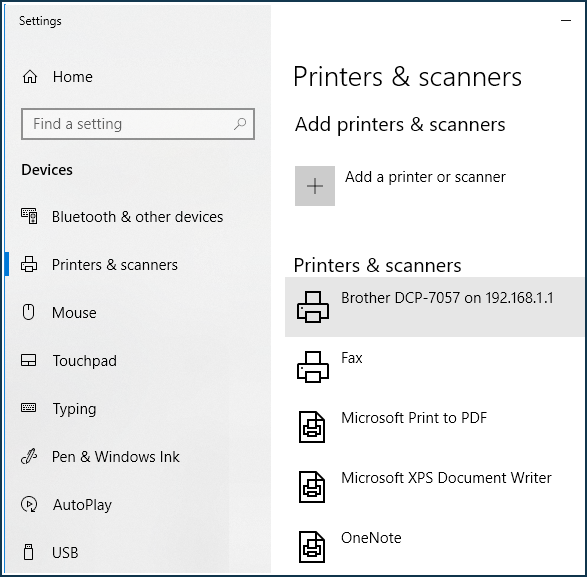
Then go to Windows Settings. Ensure that the printer has been installed in the 'Devices' menu in the 'Printers and scanners' section.