Starting with KeeneticOS version 3.4, the WebDAV protocol support has been implemented to work via KeenDNS — our cloud-based domain name service.
You will be able to access files and folders of a USB drive connected to your Keenetic router remotely at
https://{keendns-name}/webdav/Importante
A special feature of Keenetic's WebDAV support is the ability to read and write files on the drive remotely, even if a private IP address is used for Internet access.
To remotely access files and folders on your USB drive, you need to run a web browser (or a file manager with WebDAV support) on the client device and set up a connection to your Keenetic. Using a web browser to connect, you can only browse and download files. Connecting with a file manager to a USB drive will allow you to add, delete, copy, move files and folders just like on a local device.
Importante
WebDAV clients and different operating systems may limit the size of files transferred through the WebDAV protocol. For example, in Windows, there is a default limit on the size of the uploaded file of 50 Mbytes (details are on the Microsoft website).
Keenetic router does not limit the size of the file transferred via WebDAV.
Connection to the WebDAV server on the Keenetic router is only possible using one of the domains — *.keenetic.pro, *.keenetic.link or *.keenetic.name, using a secure connection with an SSL certificate.
The WebDAV server will only be accessible through the router's domain name with a valid SSL certificate (e.g. https://*.keenetic.link/webdav/).
The connection will not work over the public WAN IP address of the router (e.g. https:/81.82.83.84/webdav/) because the SSL certificate is issued for the domain name, not the IP address.
Importante
To connect to the router via third-party applications, we recommend creating a separate user account, with access permission to WebDAV Server only. For security reasons, do not use the router's administrator account, provide a user account with restricted rights.
Example of setting up a WebDAV connection on a Keenetic router
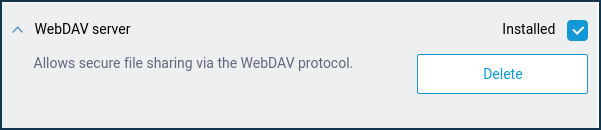
For the WebDAV server to work, the appropriate system component must first be installed in the router. You can do this on the 'General system settings' page under 'Updates and component options' by clicking on 'Component options'.
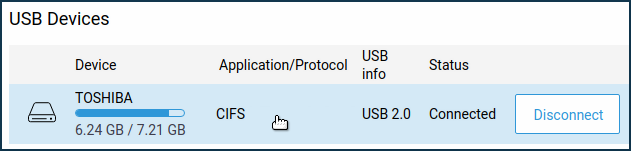
Enter the router's web interface and plug in a USB drive.
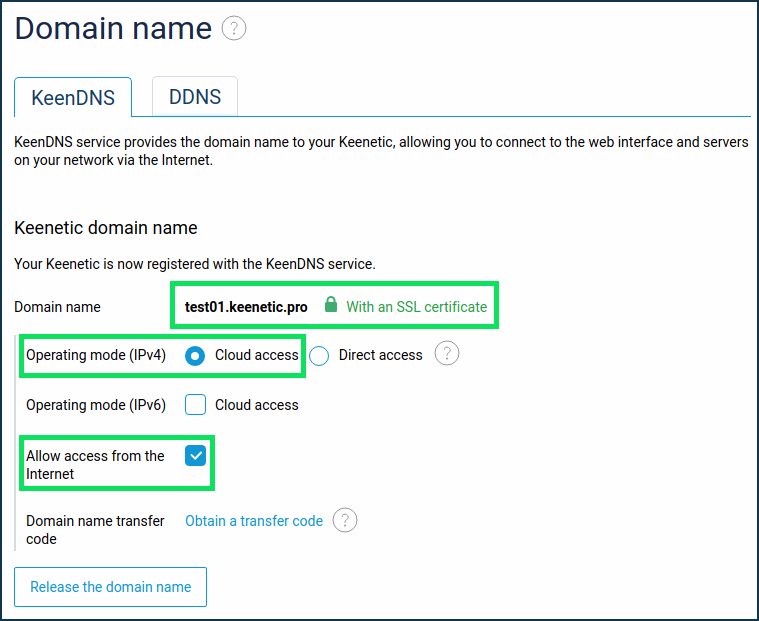
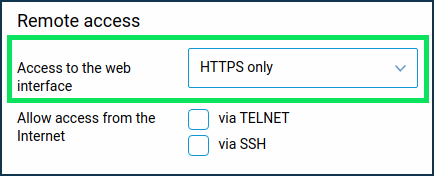
We assume that a USB storage device is connected to the Keenetic router, a KeenDNS domain name is registered to the router (in our example, test01.keenetic.pro), 'Cloud access' mode is used, and remote access to the web interface from the Internet via HTTPS only is allowed.
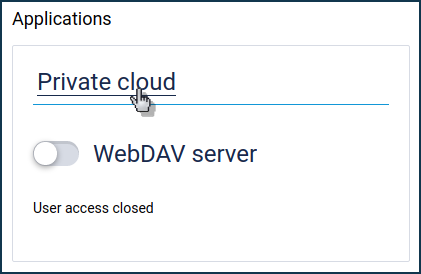
Go to the 'Applications' menu. On this page, find the 'Private cloud' section and click on the section title.
In the 'Private cloud' window that appears, enable the 'Allow access from the Internet' option. In the 'Users and access' subsection, you can add a new user account or allow access to the router administrator (
admin) account. Enable the WebDAV option for the user you want to allow remote access via the specified protocol. Then click 'Select folder' to specify the required directory on the USB drive.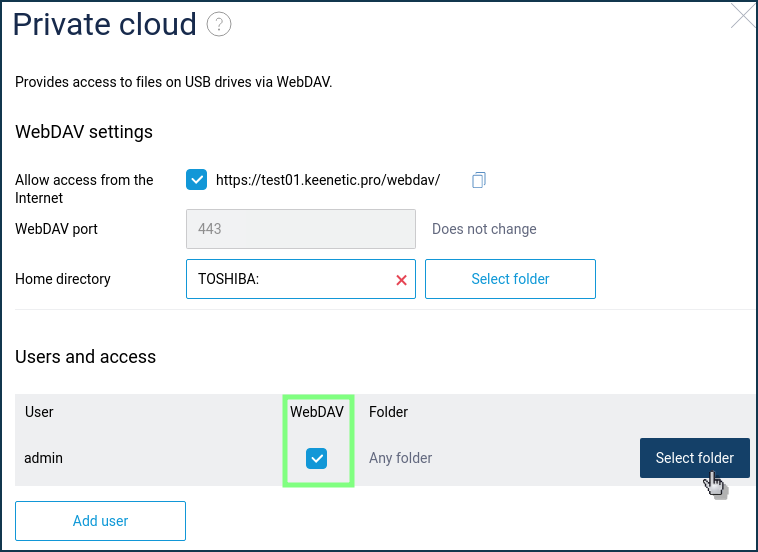
Save the settings.
Importante
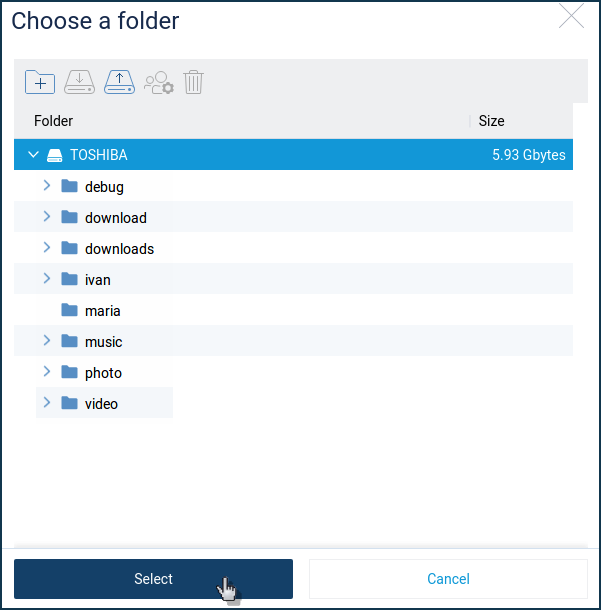
When adding a new user, be sure to assign access rights for the parent directory. Click on 'Select folder' in the pop-up window of the built-in file manager, click on the parent directory, then on the
 button and assign 'Read only' or 'Read and write' access rights. Click on 'Save'. Then select the required folder on the drive that will be accessible to the current user in case of a WebDAV connection. Confirm the folder selection by pressing the 'Select' button.
The 'Ignore access rights' option does not override the requirement to enter a password when connecting to the drive and does not grant anonymous access. Enabling this option allows you to ignore access rights that have already been set.
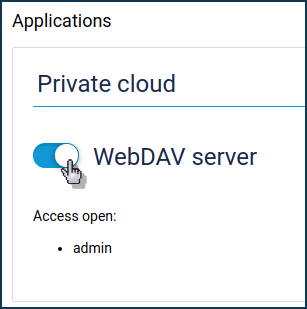
Now return to the Applications page. By default, the WebDAV server is switched off. To enable the server, move the switch to the enabled state.
Set up a remote connection.
The easiest and most convenient way is to use a simple web browser (Google Chrome, Firefox, Opera, Edge).
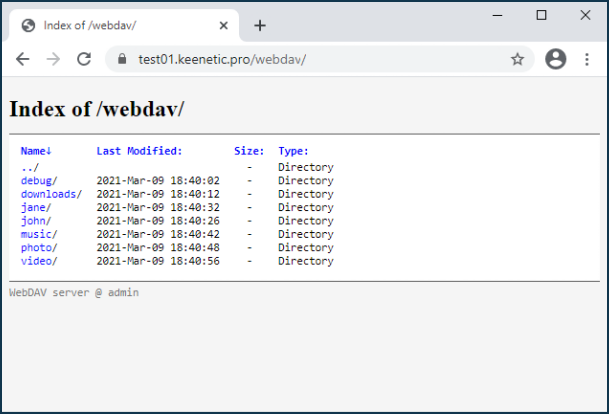
In the address bar, enter your router's KeenDNS URL: https://{keendns-name}/webdav/ to connect to its WebDAV server (for example, https://test01.keenetic.pro/webdav/).
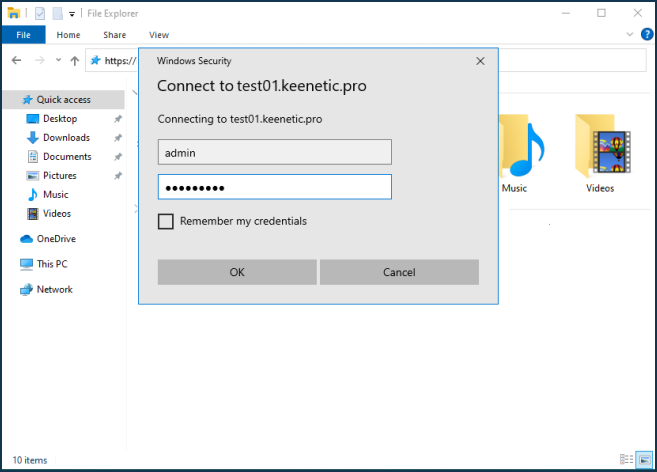
In the login window that appears, use the router's administrator account.
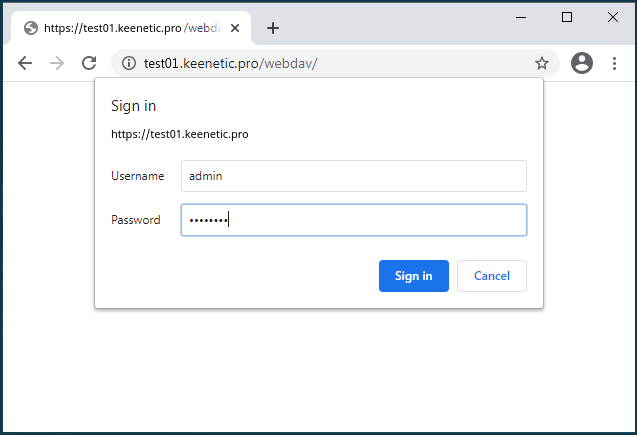
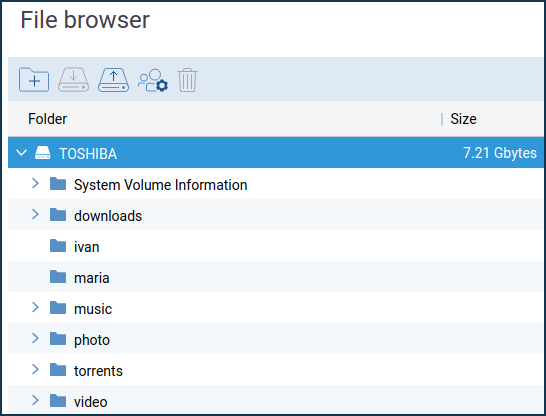
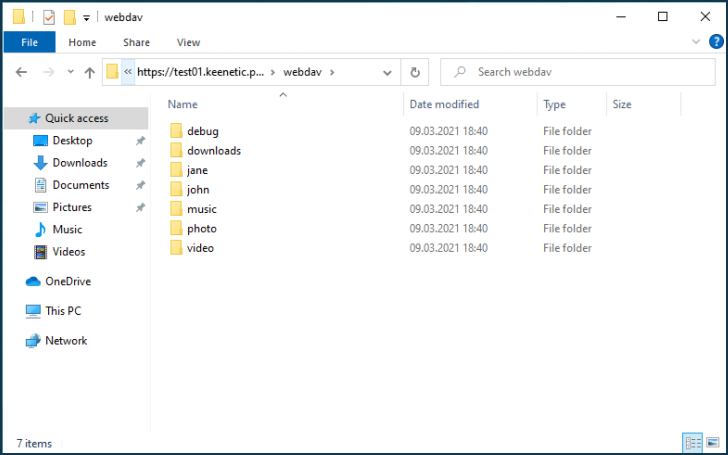
Once successfully connected, you will see the contents of the USB drive.
Importante
Using a web browser for remote connection, you can only browse and download files. If you need to delete, move or add a file to a USB drive, use a file manager that supports WebDAV.
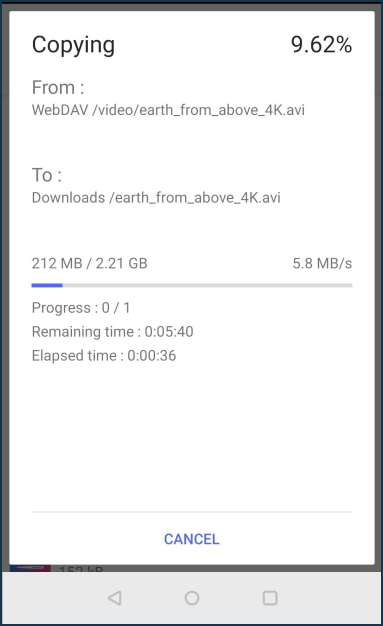
When connecting via a web browser, the file transfer is performed within the HTTPS protocol, and there is no limit on the size of the transferred file.
Importante
If WebDAV access to the drive does not work and you see the
403 Forbiddenerror, check whether 'Read Only' or 'Read & Write' access rights are assigned to the parent directory for this user. Go to the 'Applications' page, and under 'USB drives and printers', click on the connected USB drive entry. In the built-in file manager window that appears, click on the parent folder, then on the button and check access rights.
Example of setting up a WebDAV connection from a mobile device
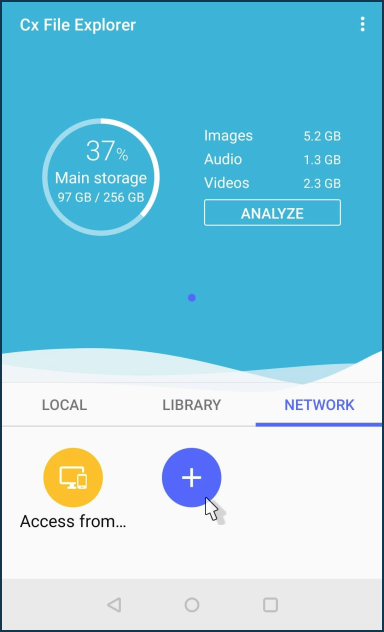
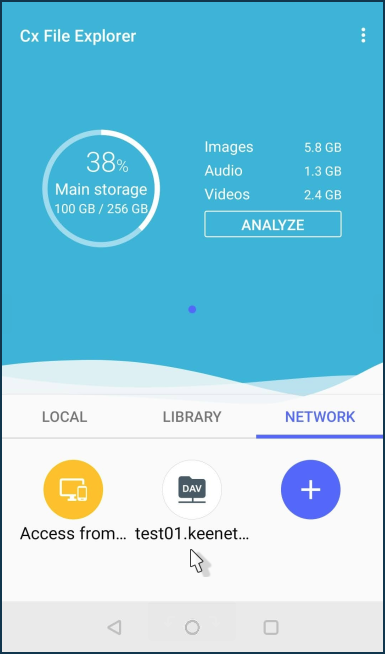
For access from mobile devices, use a file manager that supports the WebDAV protocol. In our example, on an Android smartphone, we will use Cx File Explorer (but it can also be Total Commander, Solid Explorer File Manager, RS Explorer and others, as long as the application supports WebDAV).
On the 'Network' tab, add a connection.
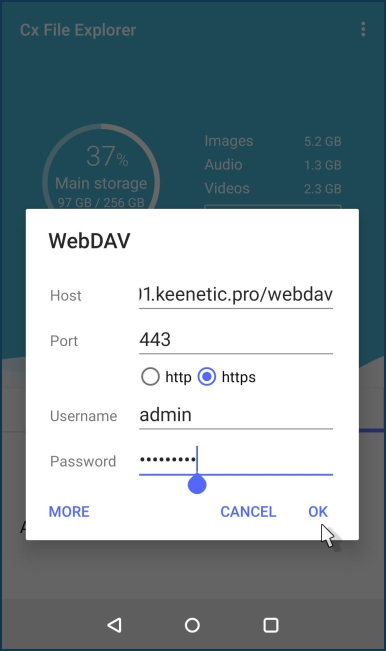
Go to the 'Remote' tab and select the 'WebDAV' protocol.

In the 'Host' field, enter the router's address (in our example, test01.keenetic.pro/webdav/) and the admin username and password.
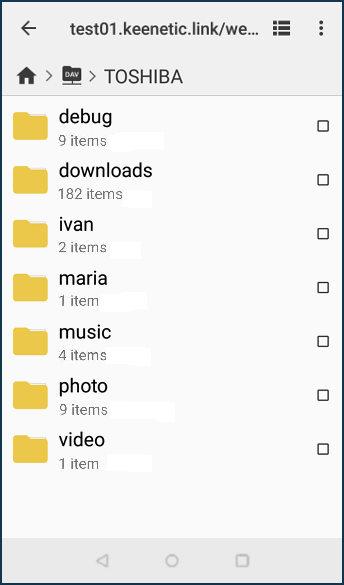
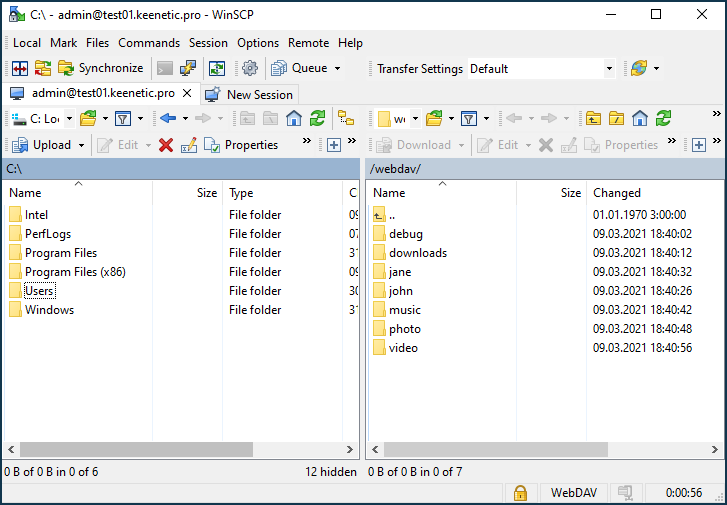
If the connection is successful, you will see folders and files on the USB drive.
Example of setting up a WebDAV connection from a PC
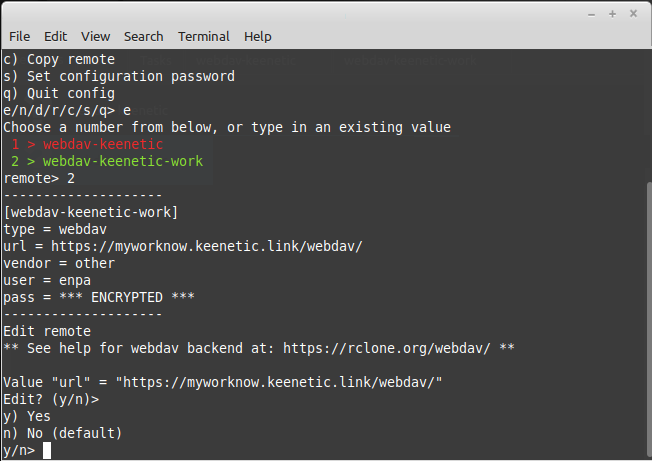
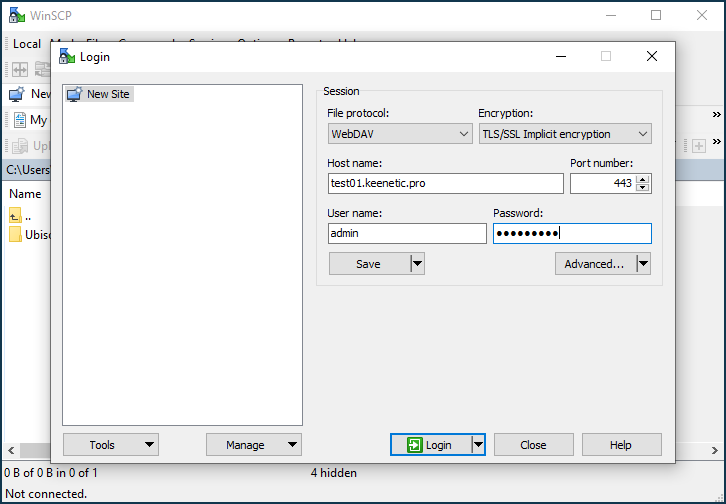
On your computer, you can also use any file manager or client that supports WebDAV (for example, File Explorer, Total Commander, WinSCP, multiplatform Rclone Browser).
An example of using Windows 10 File Explorer:
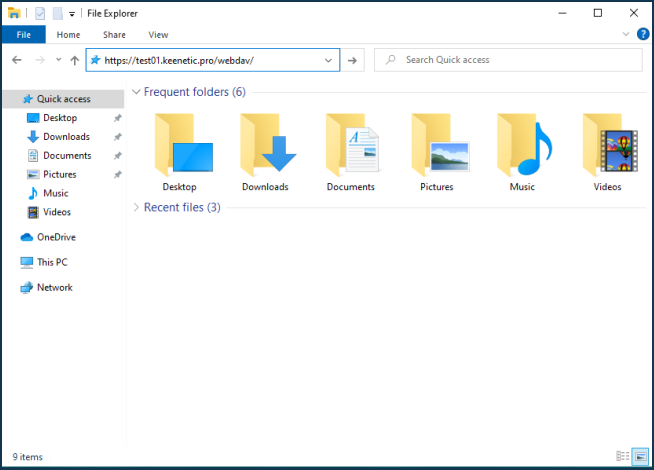
In the address field, use a link of the format https://{keendns-name}/webdav/
Importante
We recommend using dedicated file managers to work with files and folders via WebDAV. Windows operating systems may have bugs when using WebDAV connections and access does not work correctly when creating a connection to a web folder and network drive. More information can be found in the documentation on the Microsoft website by clicking here.
A WinSCP example:
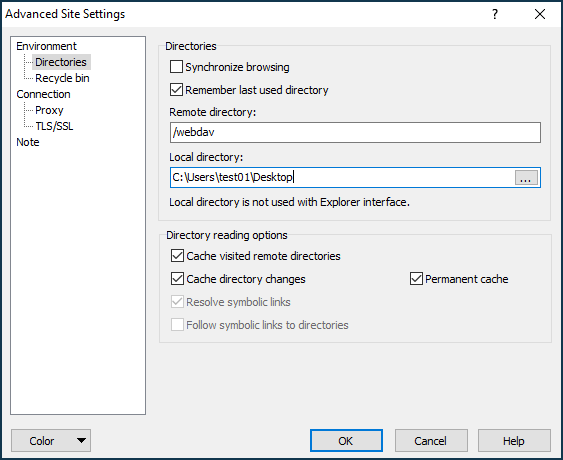
Be sure to specify /webdav in the 'Remote directory' field in the connection settings (the connection will not be established without this setting).
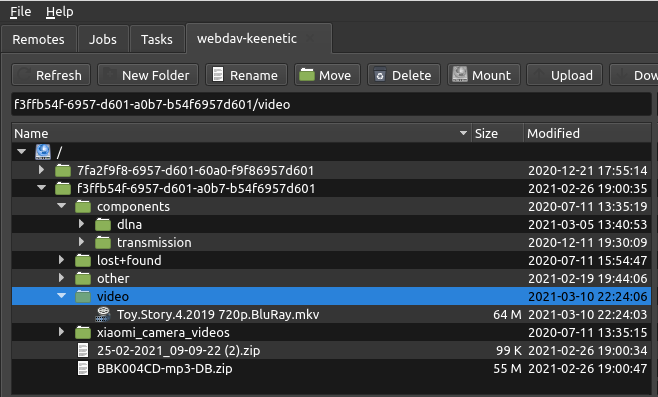
Rclone Browser (based on the console utility rclone):