On the 'Routing' page, you can add custom static routes, for example, to the local resources of the provider or other IP networks and nodes, as well as see the current IPv4/IPv6 routes. A static route defines a rule for sending IP packets through a specified gateway or network interface.
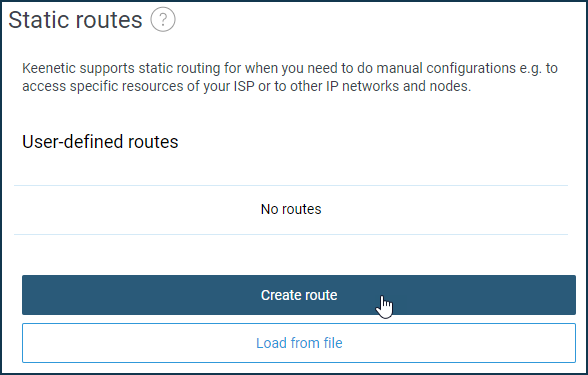
Click on 'Create route' to add a custom route.
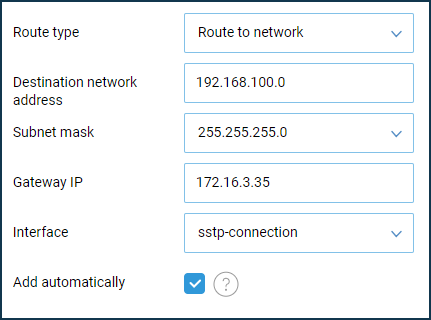
In the 'Static route parameters' section, select the type of route and specify the destination address. Enter the gateway address or select the interface through which the corresponding traffic will be routed. Several options are available in the 'Route type' field: 'Route to host', 'Route to network' and 'Default route'. Select the required option depending on your task. In the 'Destination network address' field, enter the IP address of the network or destination node. Then enter the gateway address or select the interface through which the traffic will be transmitted.
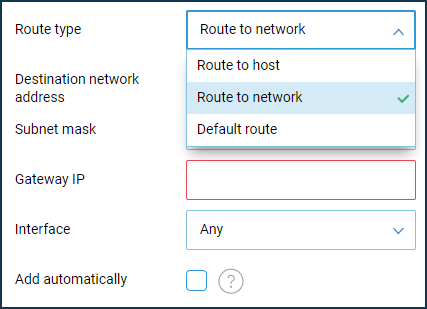
Check the 'Add automatically' option to apply the route when the specified gateway is available.
For example, let's add a route to the remote network segment available for SSTP-connection.
In the 'Interface' field, there will be connections, interfaces and segments available on the device, as well as the value 'Any'.
Besides adding static routes manually, you can upload a list of routes from a batch file created in advance. This feature is handy when you add a lot of routes.
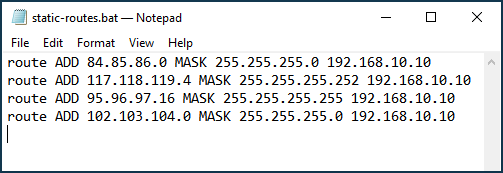
The file with the .bat extension should have a classic view with the syntax of the Windows operating system. Example of command from a batch file:
route ADD 157.0.0.0 MASK 255.0.0.0 157.55.80.1For example, let's make a batch file with a list of routes.
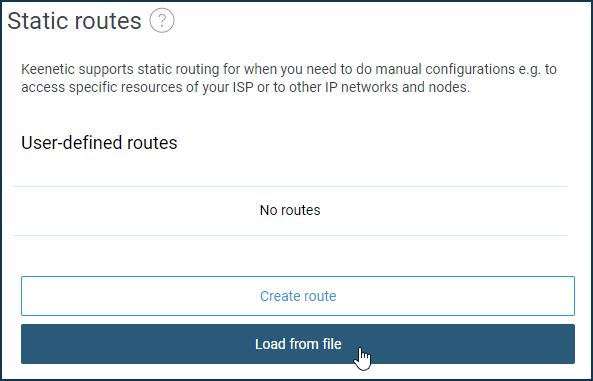
To load routes from a file, click 'Load from file'.
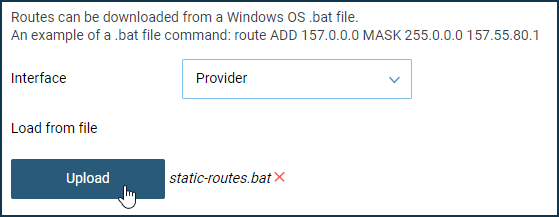
In the 'Interface' field of the 'Load from file' window, you should select the interface for which the routes will be applied (as usual, ISP gives a list of routes for the local network, i.e. it should be the interface through which Keenetic connects to the Internet). Then click the 'Select file' button and specify the path to the batch file on your computer. Then click 'Upload'.
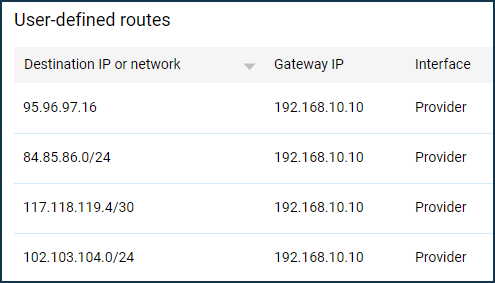
As a result, all static routes from the batch file will be added to the Keenetic routing table.