In Windows 10, there is the Backup service (located in Windows Settings), with which you can configure backups of different folders.
We recommend using an external drive or USB storage device (flash drive) as backup space.
The archiving service uses the 'File History' backup mechanism. Please note that, unlike classical backup systems, the 'File History' tool is designed to copy your files and folders. It does not allow you to create a system image, recovery drive or back up an entire drive. File History allows you to quickly set up and copy files located in the Pictures, Music, Videos, Documents, Desktop, OneDrive cloud storage files that are available offline on your computer, as well as other folders specified by the user.
Below is an example of configuring a backup of user data from a Windows 10 computer to an external drive connected to a Keenetic router USB port.
Select a separate USB drive (external hard drive, flash drive) to store your backup files. Connect it to a Keenetic router equipped with a USB port to work with the drives. Refer to the 'Connecting a USB drive' manual for more information.
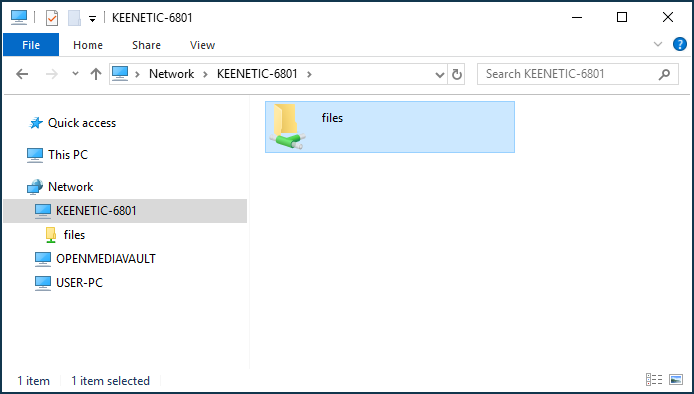
Ensure the USB drive is accessible from the computer via the local network through the Network Environment (Network). For example:
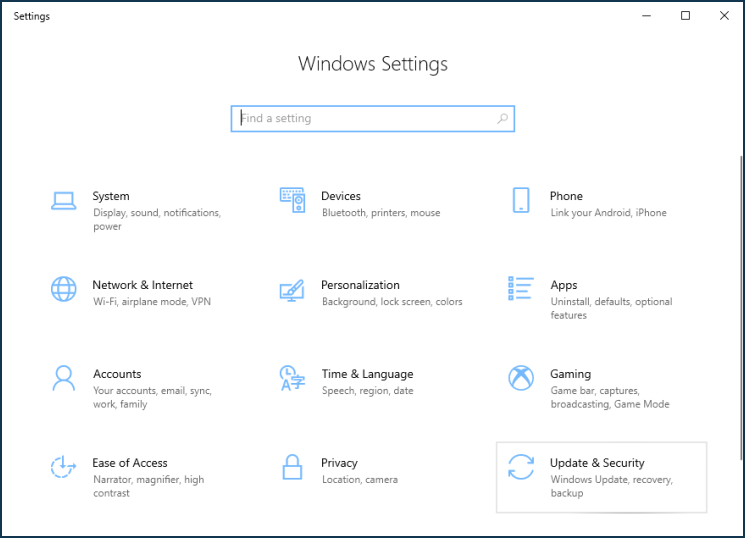
Then click 'Start > Settings' to display Windows settings and go to 'Update & Security'.
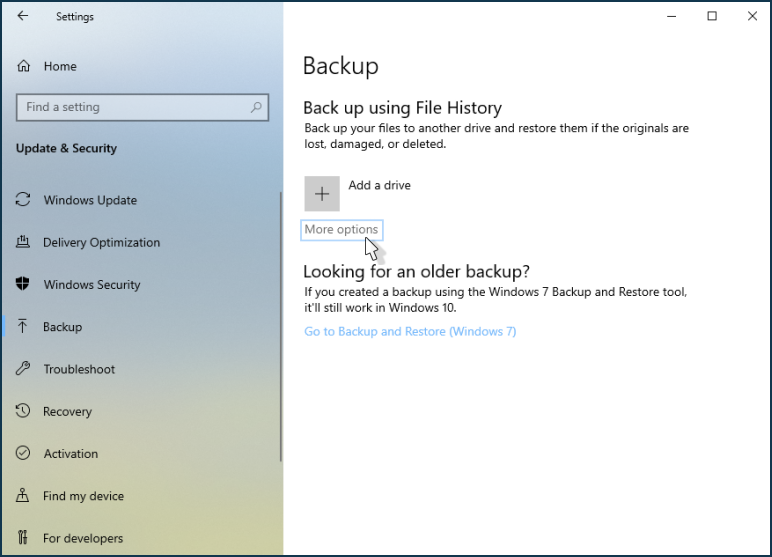
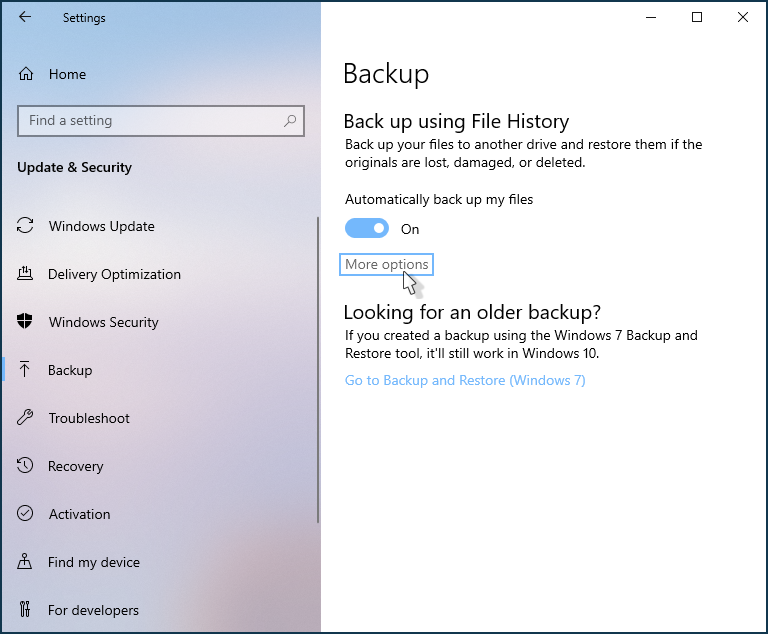
Go to the 'Backup' subsection and click on 'More options'.
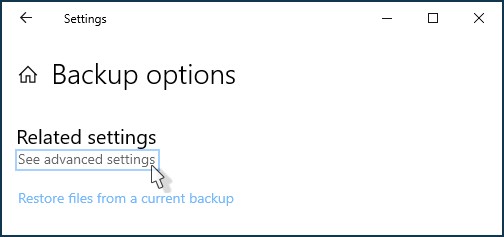
Then click 'See advanced settings'.
There is a simplified configuration of the Backup service in Windows settings. For additional backup configuration, you can use the 'File History' mechanism (also available through the 'Control Panel > File History' menu).
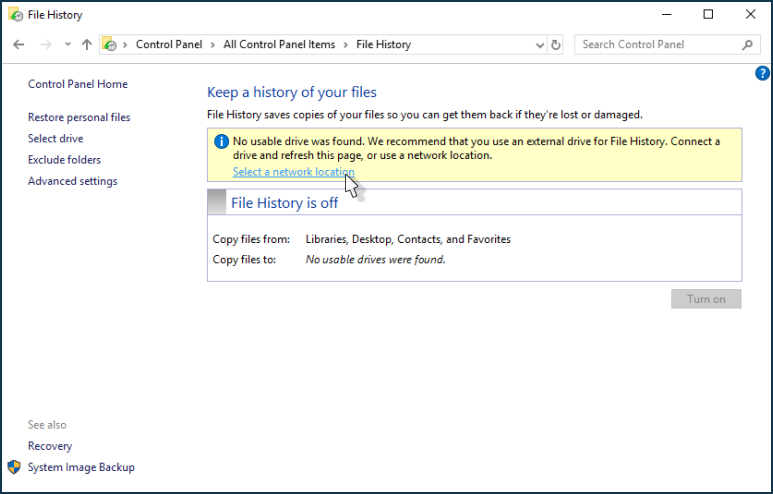
Here you can select where to store your backup. In our example, this is an external USB drive connected to a Keenetic router and available to computers in the LAN as a network drive.
To assign a network drive, click 'Select a network location' and in the 'Select Drive' window that appears, click 'Add network location'.

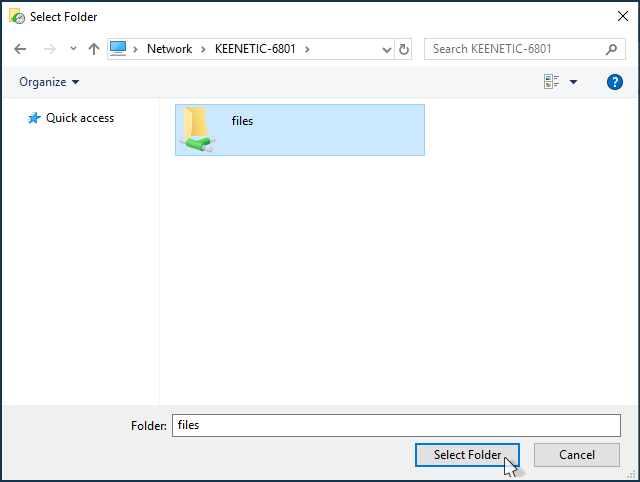
In the 'Select Folder' window through 'Network Environment (Network)', specify a shared folder of the USB drive.
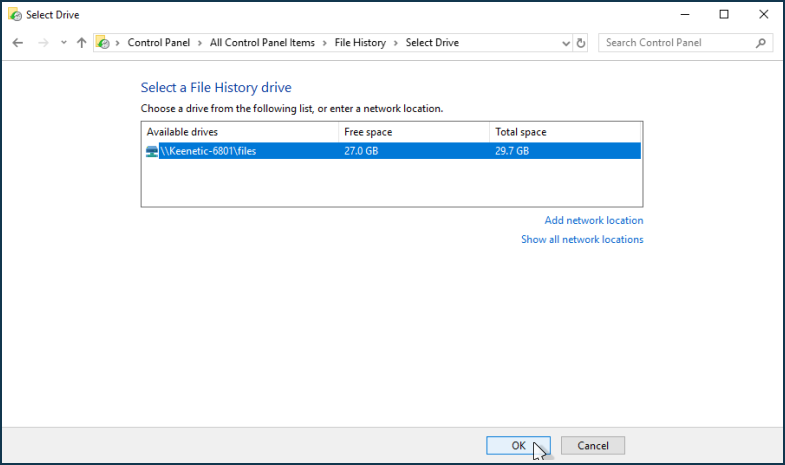
After choosing a network location of the drive for File History, click 'OK'.
Then click the 'Turn on' button to activate the file backup.
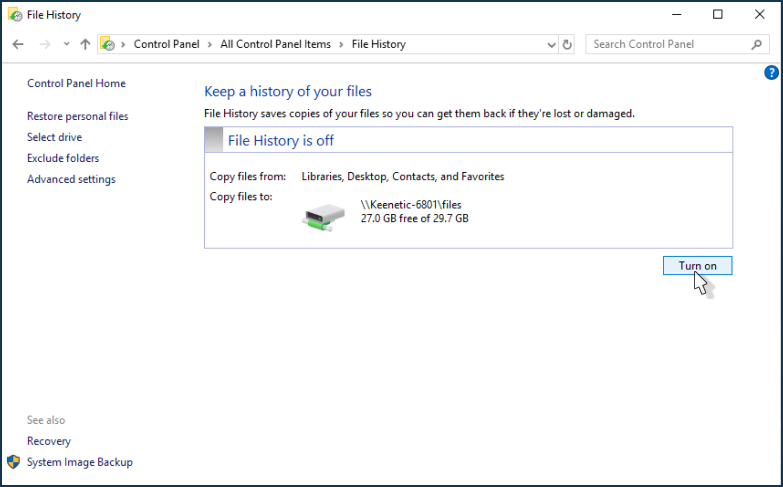
By default, File History saves copies of your files from your Library folders (Pictures, Music, Videos, Documents), Desktop, Contacts and Favorites.
To change the backup options, go back to the 'Settings > Backup' window and click 'More options'.
In the 'Backup options', you can set up a schedule to perform automatic backups and add and exclude specific folders to participate in the backup.
By default, the list contains the standard folders, but if necessary, you can expand the list by adding any other folders and excluding those folders that you would not like to back up (you need to delete a folder from the list to do this).
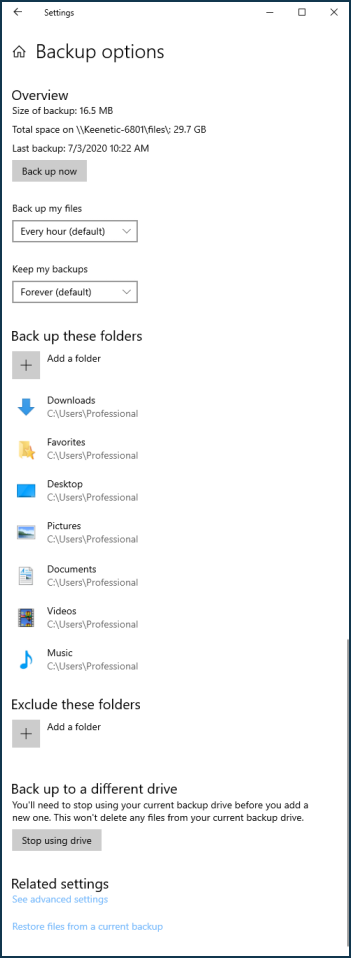
Once you have configured the Backup service, this window will display the backup size, available space on the drive, date and time of the last backup.
This completes the setup for backing up user data.
To DISABLE network backups to a USB drive, click 'Stop using drive' in the 'Backup options' window.
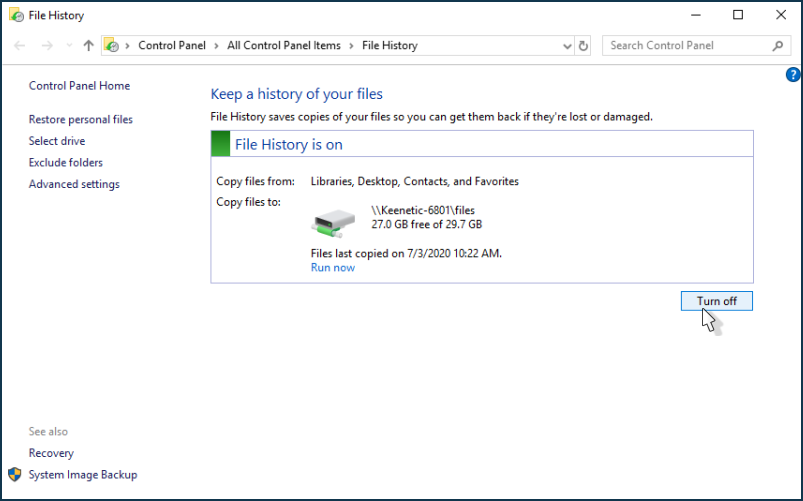
Or turn off the 'File History' function.
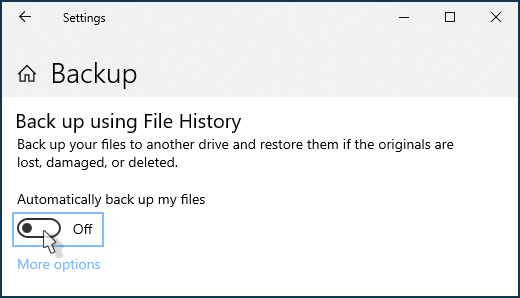
Or, in the Backup service settings, turn off the automatic file backup function.
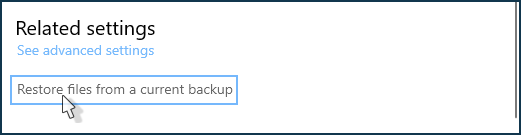
To RESTORE files, go to the 'Settings > Backup > More options', and in the 'Backup options' window under 'Related settings', click 'Restore files from a current backup'.
For more information on using the File History mechanism and recovering files, visit the Microsoft website.