Internet safety with SkyDNS
SkyDNS provides a content filtering and network security service for home and business users. The platform is designed to meet the dynamic needs of healthier workplaces, provide adaptable parental controls and ensure adherence to government regulations for schools and other educational institutions such as public libraries.
SkyDNS services include over 60 constantly updated content filtering categories, ad blocking, per-device statistics collection, access scheduling and more. The full list of services includes:
Content filtering for over 60 website categories
User-defined allow and deny lists
Online activity statistics
Filtering schedule
Built-in safe search system
Blocking of new or unknown sites that have not yet been categorized by the service
Customized filtering profiles
Prevent access to online proxies and anonymizers designed to bypass blockers
Customizable blocking pages
Account management via a website or desktop agent (Windows)
Online technical support
You can set up the SkyDNS content filtering service on your Keenetic router to protect your children, students, employees or visitors from being exposed to inappropriate Internet resources or unknowingly downloading malware. By implementing the cloud architecture, the SkyDNS service is available with any ISP connection.
Opening a SkyDNS account
An active SkyDNS account is required to set up the SkyDNS content filter on your Keenetic. To sign up for a trial, you can subscribe to the SkyDNS.Домашний parental control plan. This tariff is an essential service plan with the option to increase the number of device profiles and store detailed statistics for six months.
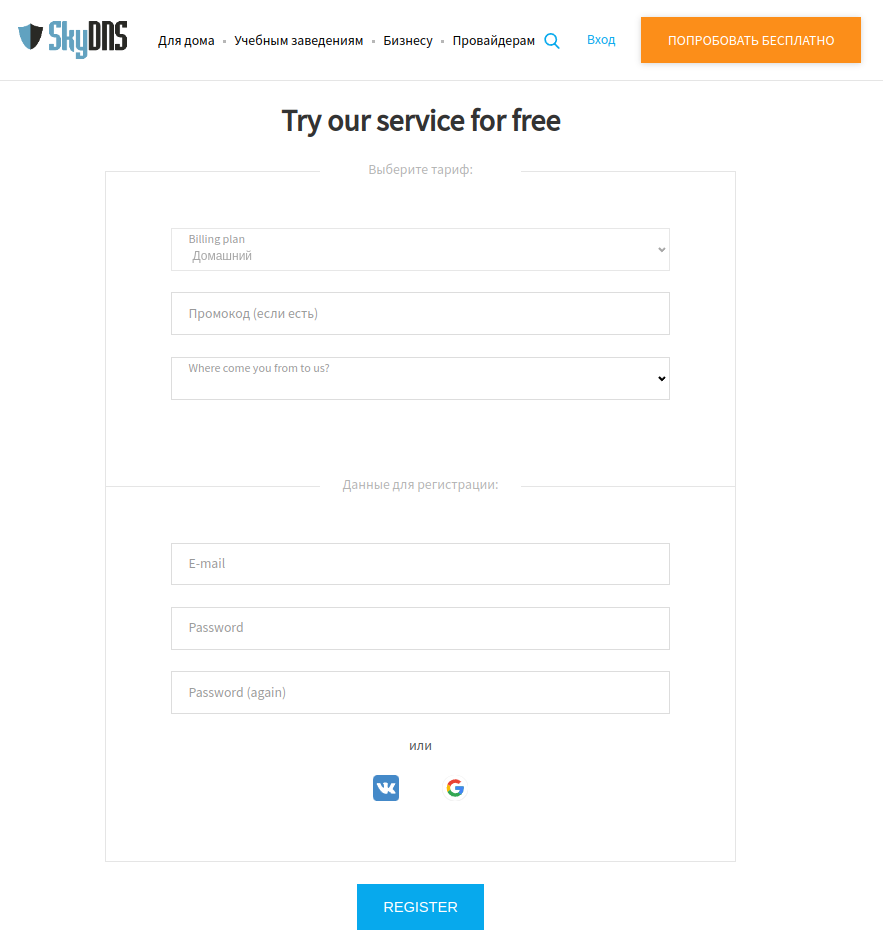
Enter your email address and password, and click Register. Confirmation of your email address is required to complete the registration.
Extending the subscription
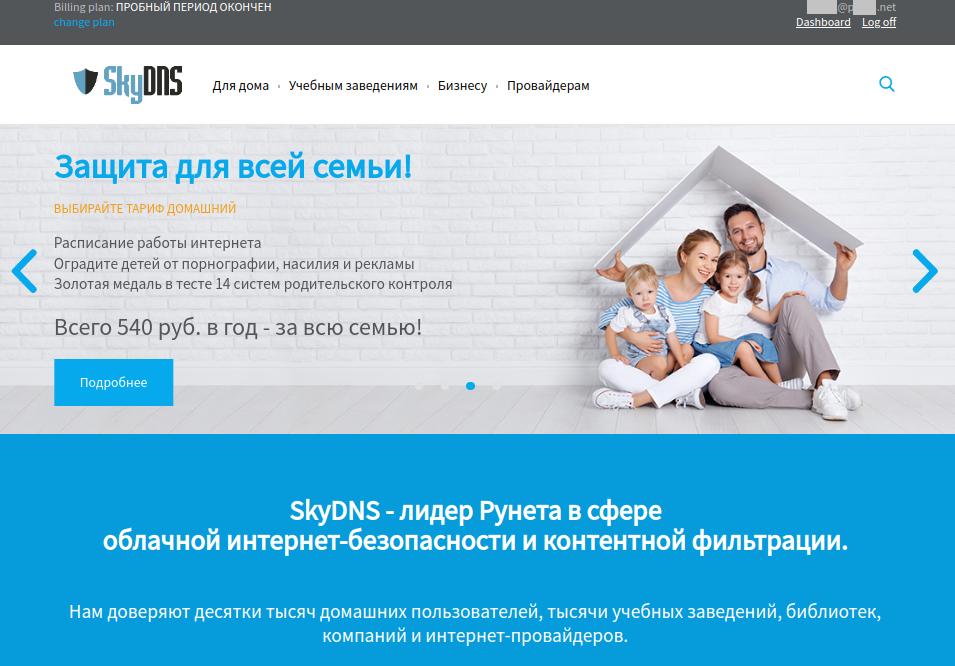
The 5-day free trial offers the same functionality as the paid SkyDNS.Домашний service. To renew your subscription, log into your account and click on the SkyDNS logo at the top of the page. The Billing plan notice in the top left corner shows your current subscription status.
Click the change plan link below the Billing plan notice.
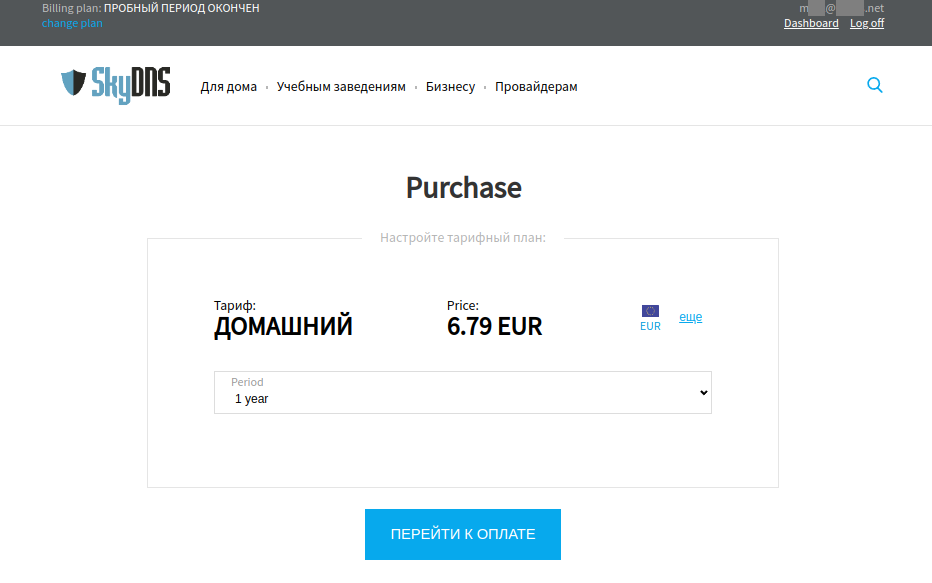
Select the service period that you wish to subscribe for and continue by pressing the ПЕРЕЙТИ К ОПЛАТЕ button.
After successful payment, you will see the confirmation message.
Registering your SkyDNS account with your Keenetic
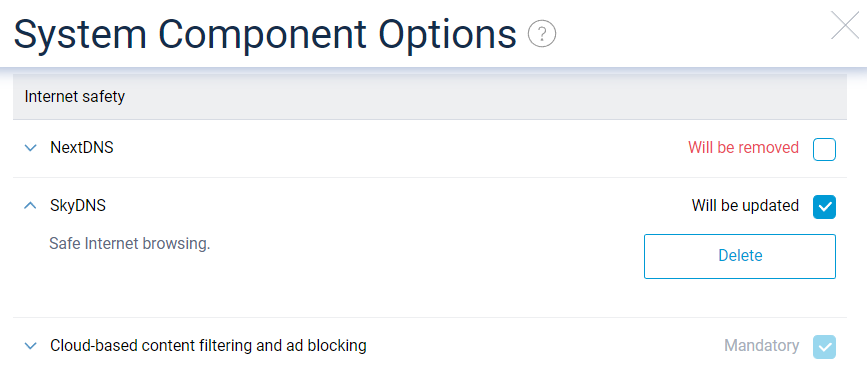
To use the SkyDNS service on your Keenetic router, you will need to install the SkyDNS component. Please refer to the KeeneticOS components installation/removal guide for detailed instructions.
From the Internet safety menu in the Network rules section of your Keenetic's Web Interface, open the Content filter tab. Select the SkyDNS option for Filter mode. A SkyDNS account section will appear.
Notice
You cannot select other subscription-based services, such as NextDNS, or preset public services, such as CloudFlare, on your Keenetic after selecting SkyDNS filtering mode. You can still set up any DNS service on devices on the network using local DNS resolution profiles or on-device configuration (requires Transit requests to be enabled in the device's DNS resolution profile).
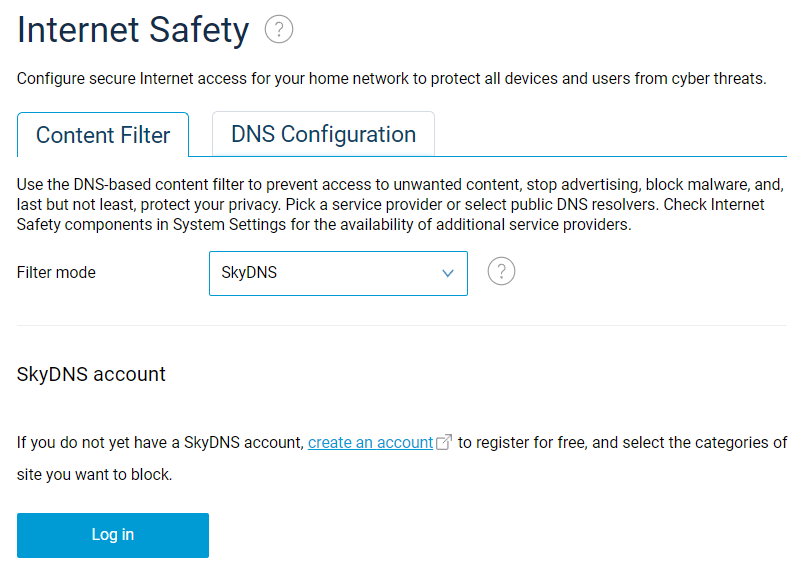
Click the Log in button. Enter your SkyDNS account login email and password in the pop-up window and click Save.

Keenetic will attempt to register with the SkyDNS service. You will see your SkyDNS subscription plan in the Pricing schedule field.
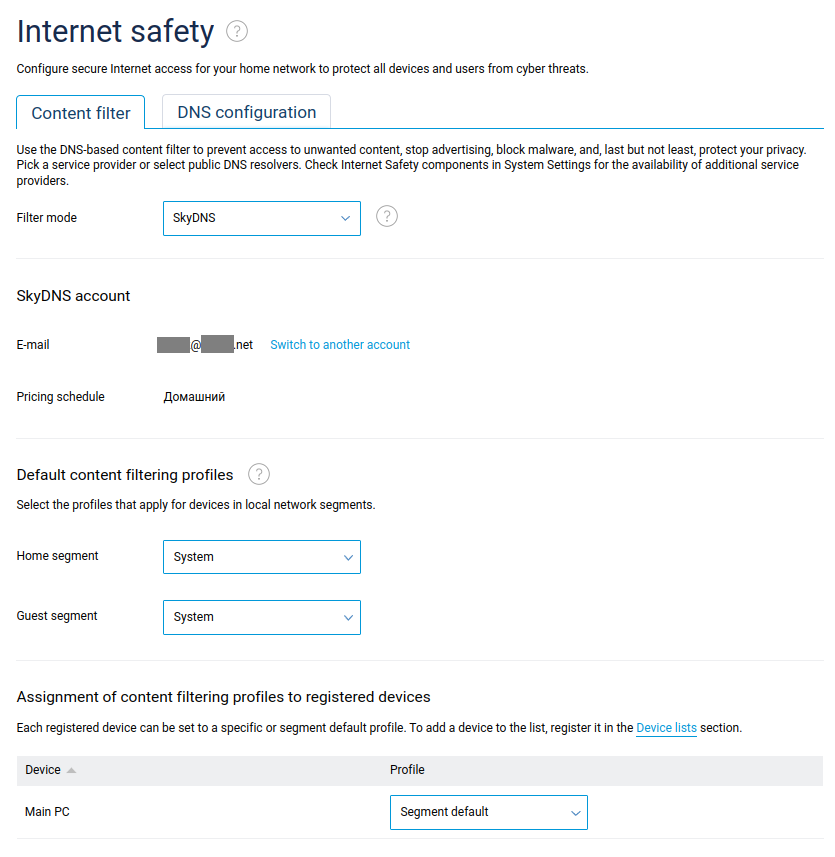
By default, Keenetic sets all network devices to resolve Internet resource addresses using the system DNS profile. Typically, the System profile only uses your ISP's DNS resolver and does not provide any protection or content filtering.
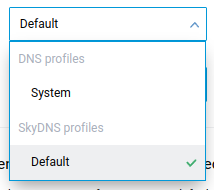
The Default content filtering profiles associations will work for any unregistered device on each local network. Registered devices set to the Segment default profile will also use these associations.
After successfully registering with the content filtering service, you can assign SkyDNS profiles to devices individually or based on the network segment of their connection. To start with, a SkyDNS service account offers the pre-installed Default filtering profile. This profile is fully customizable. It comes pre-set with safety content filters and protection from illegal and adult material.
Adding a SkyDNS filtering profile
Profiles allow you to set different filtering rules for your network devices. For example, you can set up strict filtering for your children's devices and only reject abusive content for devices used by adult family members.
Notice
You need to add a custom profile to take advantage of service scheduling. See the Using schedules section below for details.
To add a SkyDNS profile, go to the Profiles tab in the Settings menu of your SkyDNS account control panel.
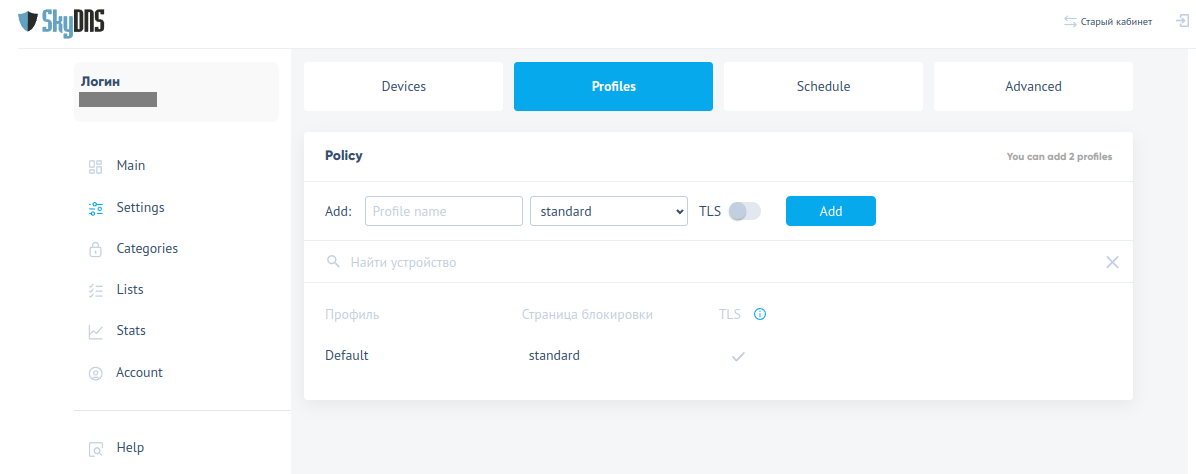
Enter a suitable profile title in the empty Profile name field. In the drop-down box next to it, you can select the page that will be loaded for the user instead of the blocked content. Three presets are available: a default SkyDNS block page, a website error emulation page, and a non-existent website emulation page. You can also enable TLS mode to correctly display block pages for HTTPS-secured sites.
Note
In order to display the secure block pages correctly, you need to install the SkyDNS Root CA certificate on the client devices. Please refer to the How to install a SkyDNS Root CA certificate guide.
Once you have selected the profile name, block page type and encryption processing mode, click the Add button to create your new filtering profile.
Setting up filtering rules and categories
Select the profile you wish to modify at the top of the Categories view in the control panel of your SkyDNS account.

Select the resources you want to block from the Categories classifier. You can block whole groups of content, such as Adult Related or individual categories of sites. To get started, choose one of the three pre-selections – Recommended, Allow all and Block all.
You can set the profile to Block unknown sites outside any category for added security.
To enable the Safe YouTube and safe search options turn on the Включить режим безопасного YouTube and Использовать безопасный поиск toggles.
If you want to select the resources in a strictly manual way, enable the Работать по разрешающему списку setting. Only sites included in the Allowlists linked to the profile and sites from the window.edu.ru catalogue are allowed in this mode.
Important
The filtering profile will ignore categories when using the Работать по разрешающему списку exclusive mode. The default profile behaviour combines filtering by the categories and the Allow/Denylists.
Using lists
Open the Lists menu in the control panel of your SkyDNS account.
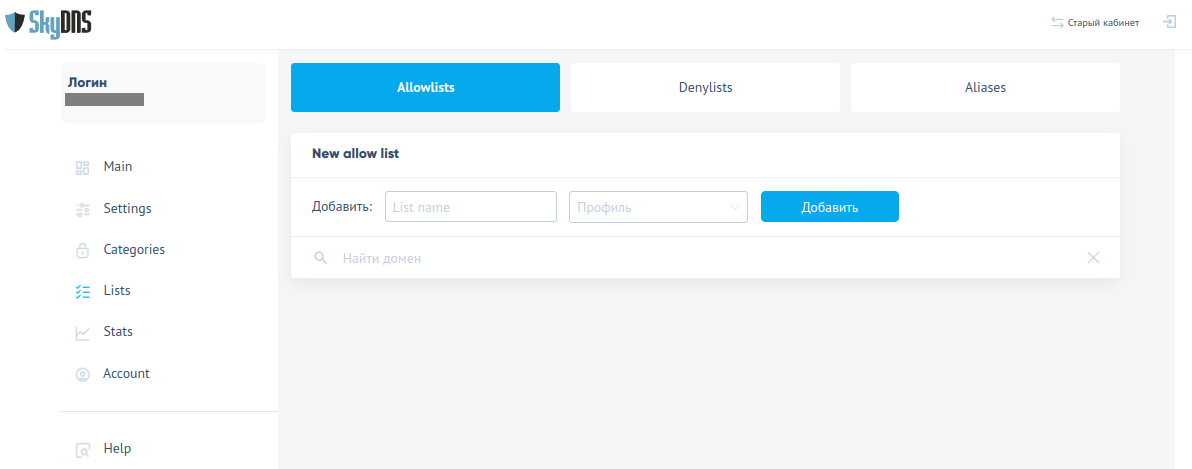
The Allowlists and Denylists contain domain name records and are used to fine-tune the filtering.
You can associate each list with multiple profiles. To add a custom domain name to your list, you must create an IP address Alias for that name. Each list can have up to 200 entries.
For example, let's say you want to selectively block the TikTok website while leaving all other social networks accessible. To do this, deselect blocking Social Networks in the Time Wasters category for the filtering profile you want, and click Сохранить to save the category settings. Then add the tiktok.com domain to the Denylist and attach this list to the same profile.
Using schedules
Schedules allow access to different websites depending on the time or day of the week. A user-created filtering profile is required to use the scheduling.
Open the Schedule tab in the Settings menu in the control panel of your SkyDNS account and select the profile to which the schedule will apply.
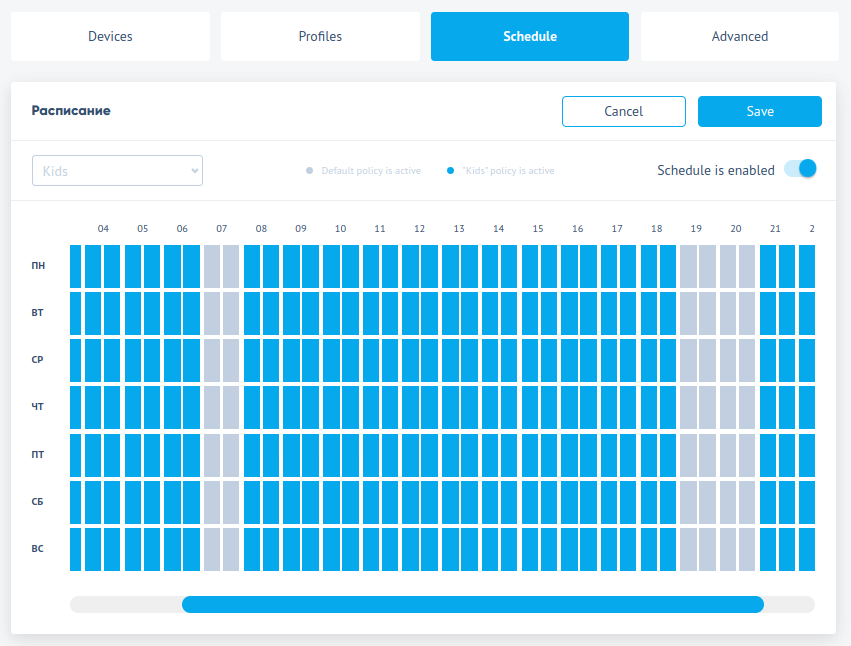
Pick the interval from the timetable and click the Save button.
When the schedule is enabled, devices assigned to the selected profile will only use it during the specified times. The rest of the time, these devices will use the default profile.
Viewing statistics
Open the Stats menu in your SkyDNS account control panel to view information about web resources accessed from your Keenetic home network.
Statistical data is updated every hour, with a six-month retention period for the SkyDNS.Домашний plan. To receive a monthly report in your mailbox, turn on the Получать ежемесячную статистику на почту toggle.
You can adjust the scope by selecting the duration between Today, Yesterday, Week, Month, or a custom period, and choose whether to display data for one of the profiles or the overall.
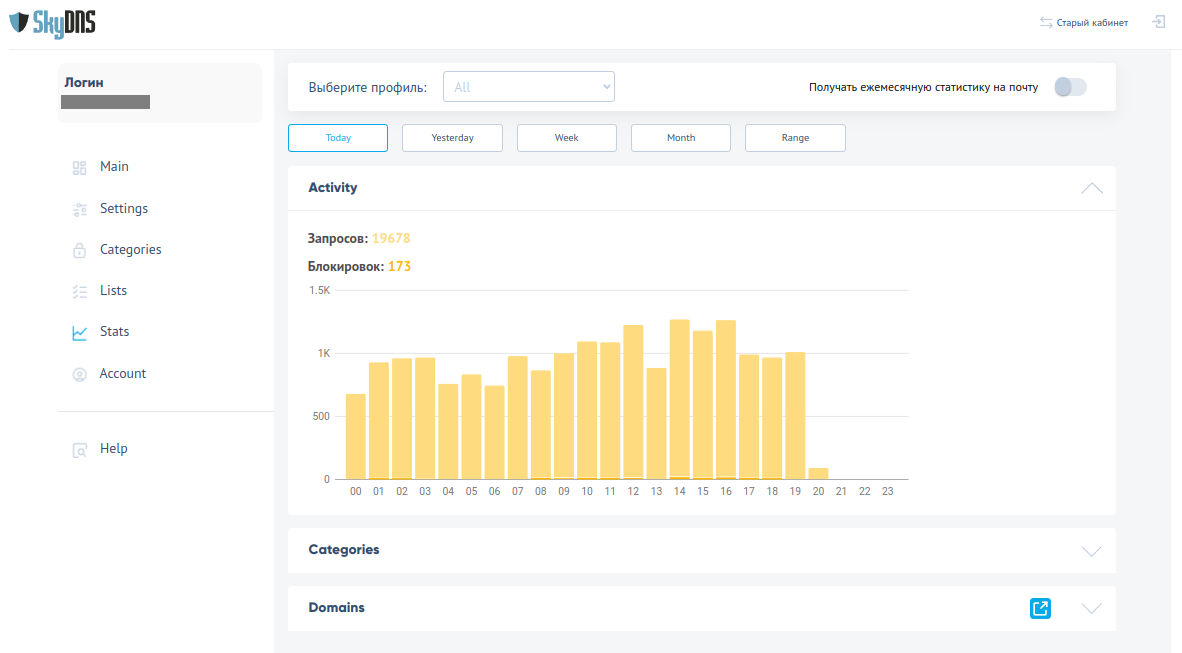
The Activity section displays a bar graph showing the total and blocked number of resource name resolution requests during the selected period.
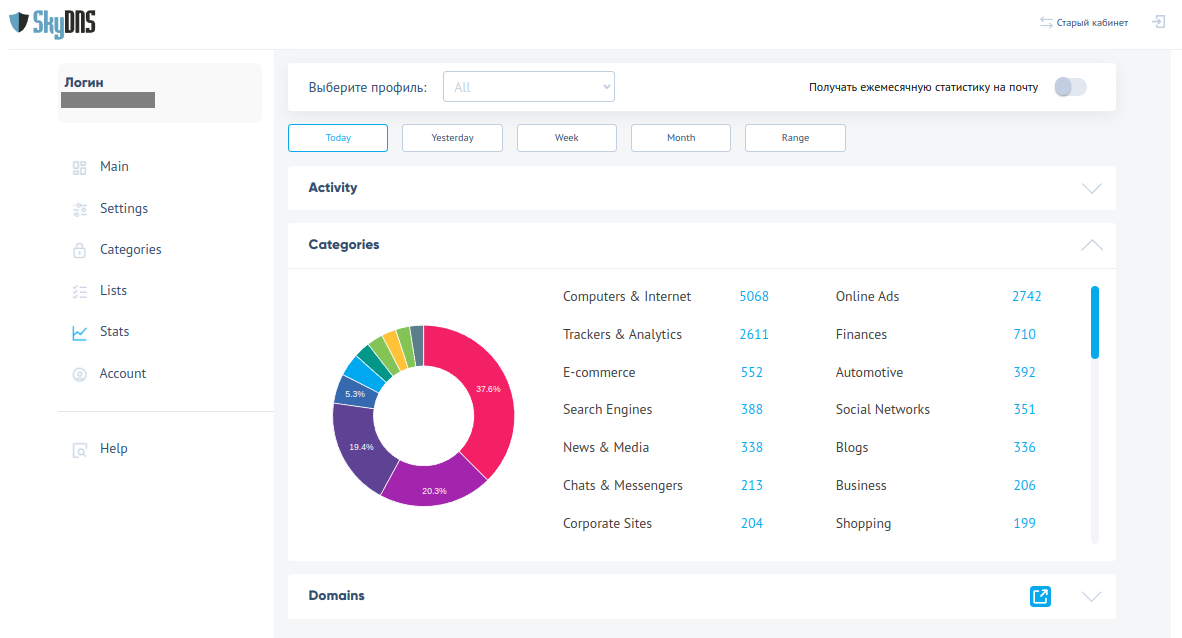
The Categories section shows a circle graph of the total number of resource name resolution requests by categories during the selected period.
The Domains section lists the most requested sites. You can filter the items displayed by domain name and the category to which they belong.
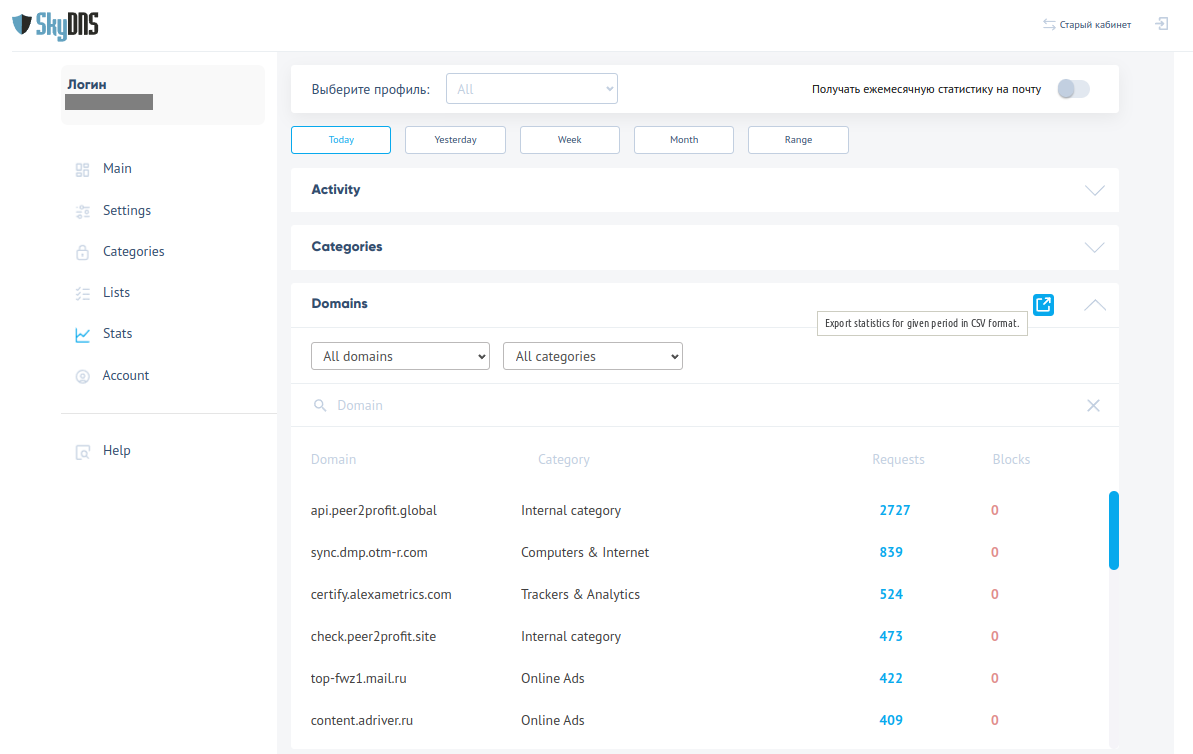
The list shows the top items with the exact number of requests opened and blocked. You can export the entire list to your PC in CSV format by clicking the Export statistics... button at the top right of the section.
Disabling the SkyDNS service on your Keenetic
To disable the SkyDNS content filter, select any other option for the Filter mode in the Content filter tab of the Internet Safety menu in the Network Rules section of your Keenetic's Web Interface.
Note
If you remove the SkyDNS component from your Keenetic, all related settings will be deleted from the configuration.
Your SkyDNS account setup is in no way affected by KeeneticOS.