Setting up your Keenetic via the mobile application
The Keenetic application is designed for quick setup and management of Keenetic routers. The application will allow you to configure your device, update its operating system if necessary, reconfigure Wi-Fi settings, create Family Profiles to manage groups of connected clients quickly, manage built-in services, learn the status and current speed of the Internet connection, enable or disable the Guest Access Point, control all connected home clients, set schedules and much more. For each device, you can limit the speed or completely deny Internet access, configure port forwarding, and set the content filtering profile of SkyDNS, AdGuard DNS or Cloudflare DNS.
First, install the application and add your Keenetic according to the article 'Adding a router locally' or 'Adding a router remotely via CID'.
Launch the application and make sure that the router is online and available for management.
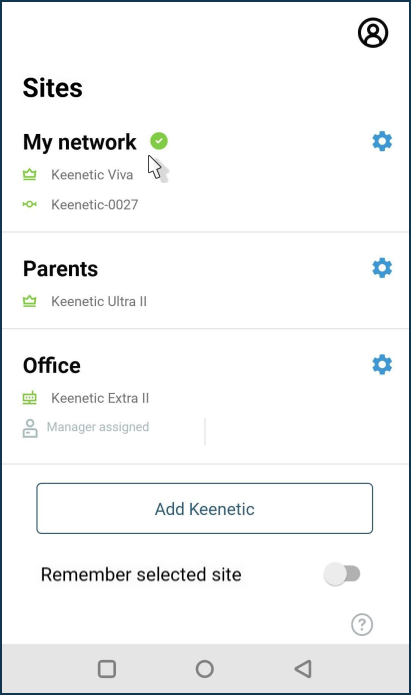
The Sites screen will show all the networks added to the app. Click on the site you want to connect to.
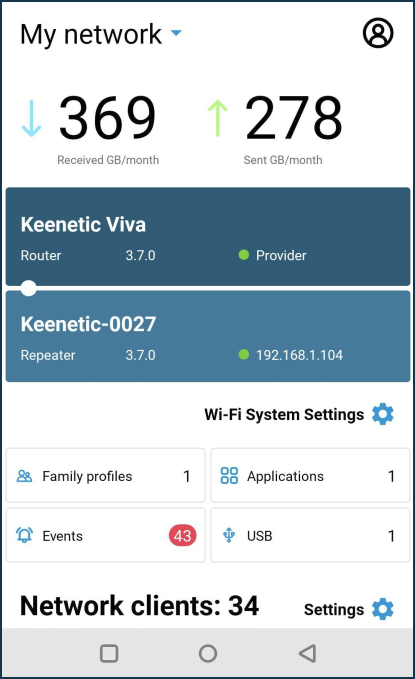
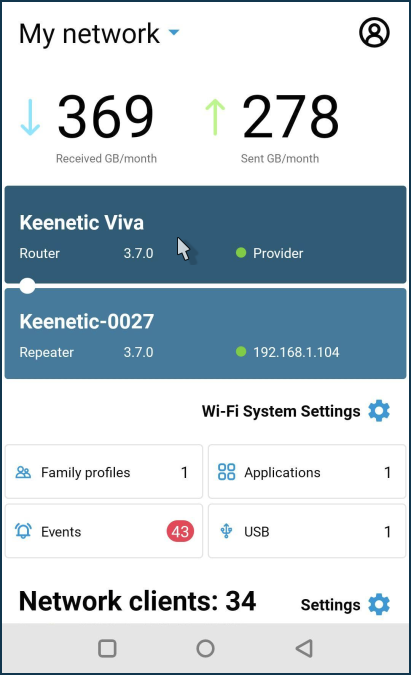
The site dashboard displays the volume of traffic sent and received by this site. You can get information about home network clients, create a family profile, and manage router applications.
The 'Network clients' section displays information about the connected clients.
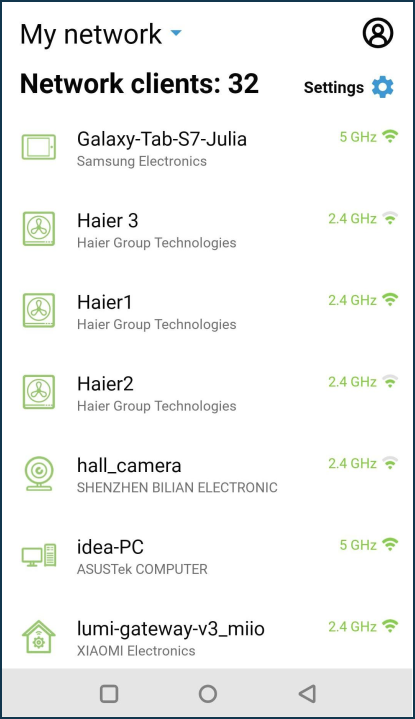
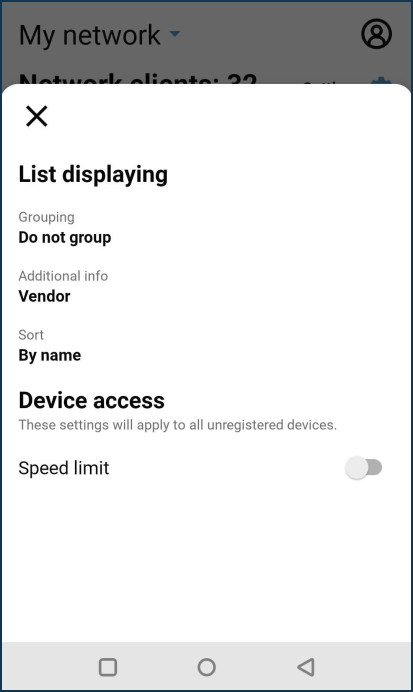
If you click on 'Settings' (the gear icon) to the left of the 'Network clients' section name, you will see options for configuring the list of home network clients displayed.

For example, you can configure grouping or sorting of the list and enable speed limitation for unregistered clients.
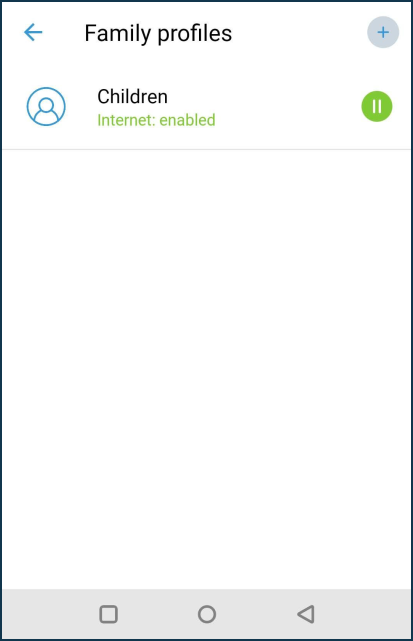
On the 'Family profiles' page, you can create and manage groups of connected clients.
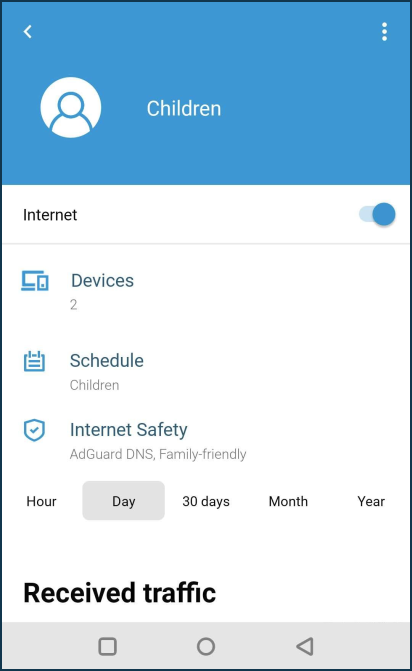
In the Family profile, for a specific group, you can specify client devices, schedule, enable the Internet filter, and view this group's traffic statistics.
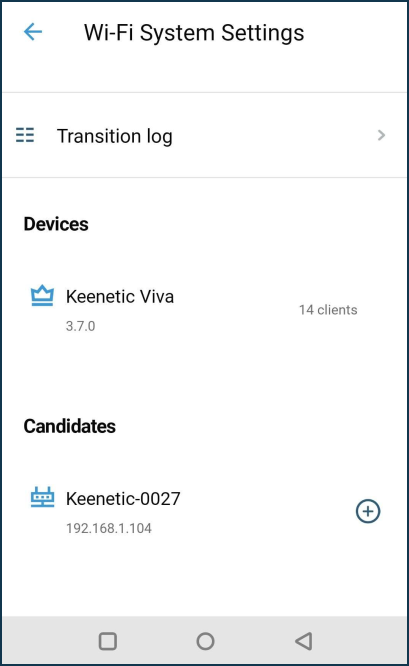
On the 'Wi-Fi System Settings' page, you can add new extenders (Keenetic routers) to organize a single wireless system with centralized management and monitoring.
You can manage the built-in applications on the 'Applications' page — VPN servers and many more.
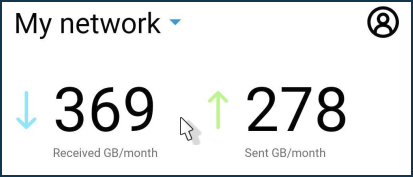
To view detailed traffic consumption statistics, click on the received/sent traffic numbers at the top of the screen.
Here is information for different periods: Hour, Days, 30 days, Month, Year.
In addition to the total volume of Received and Sent traffic, the 'Top 10 network devices' statistics are displayed here.

To go directly to the router settings, click on its name.
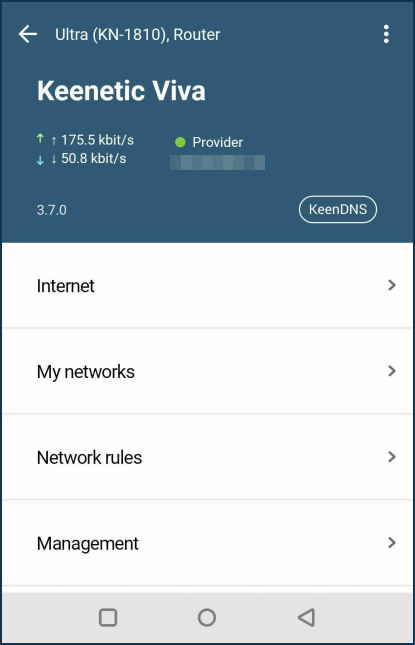
On the router's settings screen, there are menu items 'Internet' (Internet connection settings), 'My networks' (settings of Wi-Fi and network ports of the Home and Guest networks and additional segments), 'Network rules' (settings of Internet filters and rules of Port Forwarding, Firewall, Routing), 'Management' (settings of KeeneticOS update installation, user management and viewing the router's System Log).
At the bottom of the router's settings screen are graphs of traffic consumption and CPU/memory usage of the device. There is information for different periods: Hour, Day, Week, Month, Year.
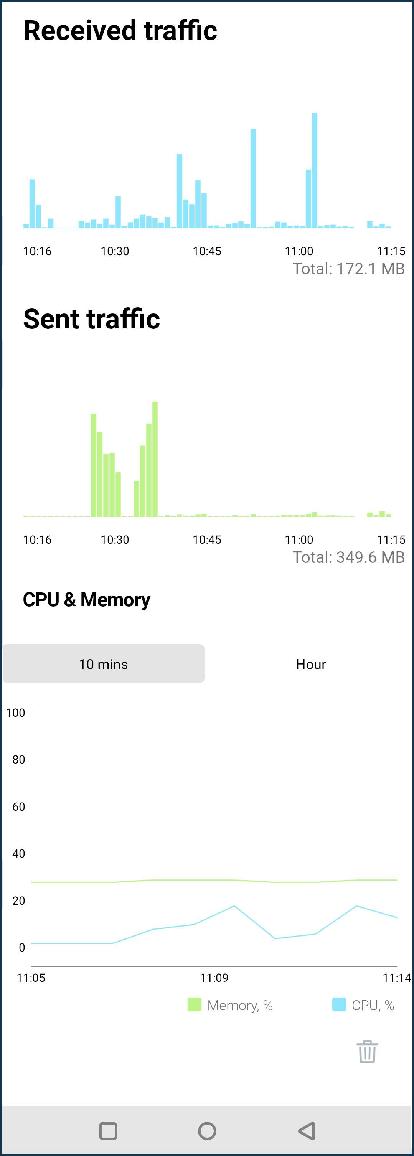
The 'Internet' menu presents the settings for Internet connections: Wired (IPoE), 3G/4G Modem, Wireless ISP (WISP), Other connections (PPTP/L2TP/PPPoE).
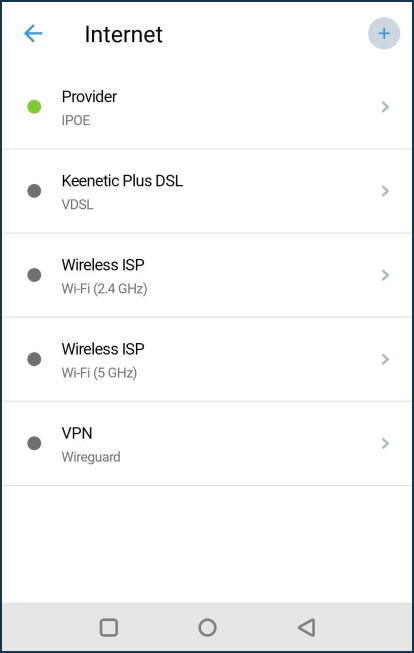
The bottom of the connection settings screen shows detailed information with statistics.

In the 'My networks' menu, you will find the settings for Home and Guest network segments, as well as additional segments created.
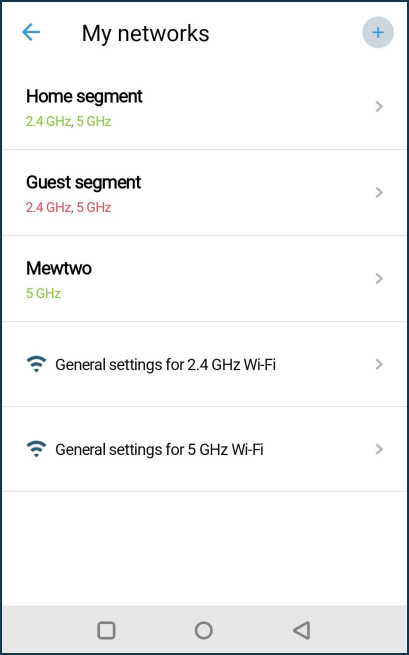
Here, you can change the Wi-Fi network's name and password to connect to it and manage various network settings.
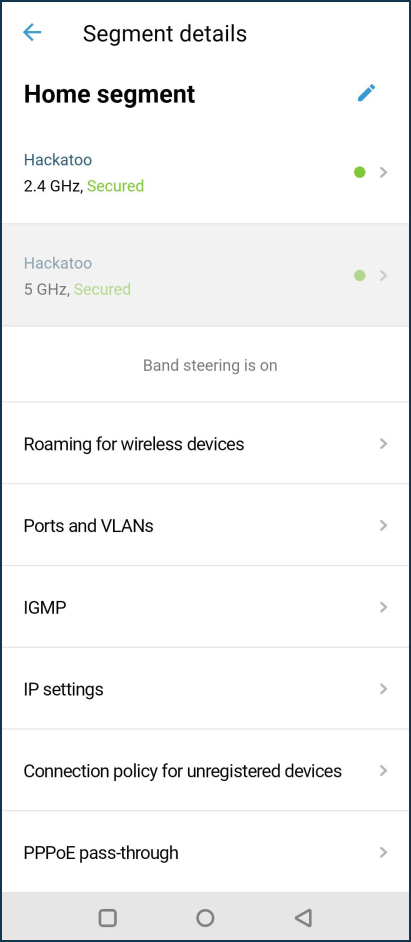
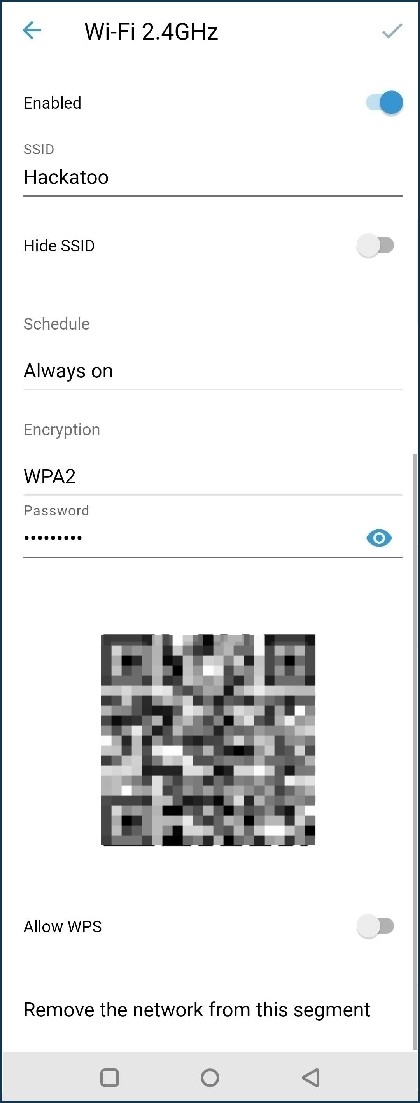
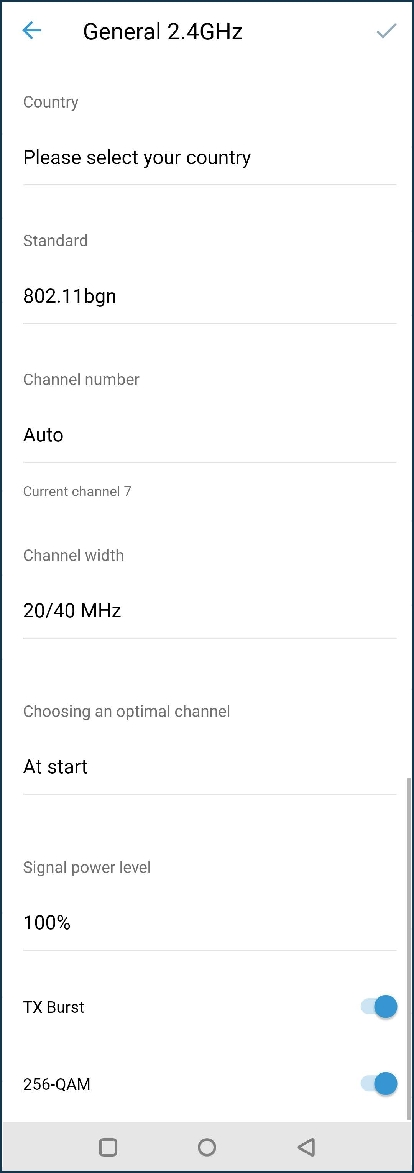
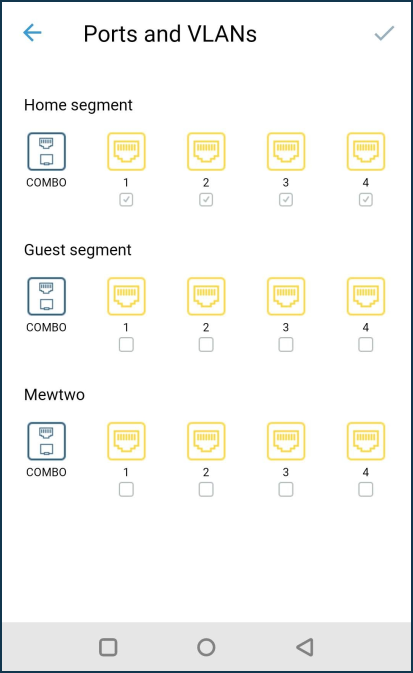
The 'Ports and VLANs' screen contains the network port settings of the router's built-in switch.
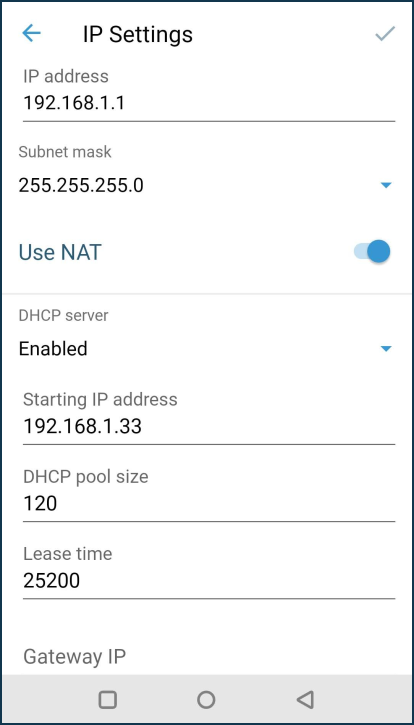
In the 'IP Settings' screen, you can change the local preset IP address of the router and the subnet address.
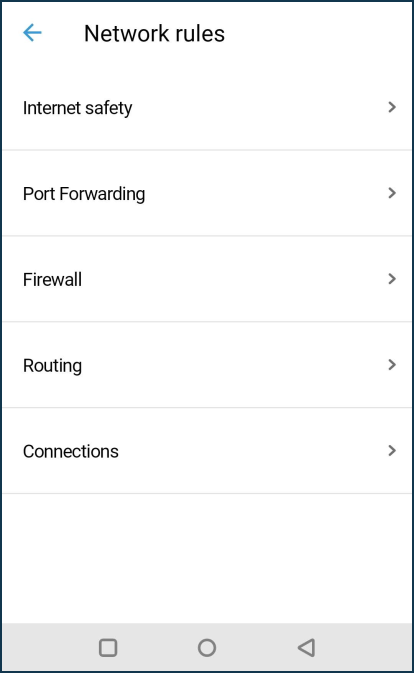
In the 'Network rules' screen, you can enable or disable the Internet filter (SkyDNS or AdGuard DNS), create port forwarding and firewall rules, add and remove custom routes, and view active connections on the router.
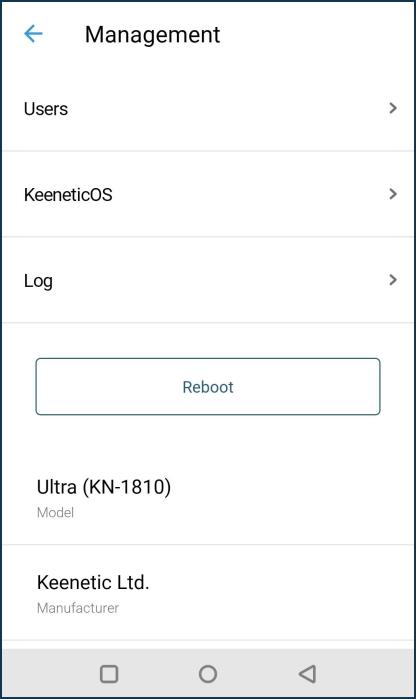
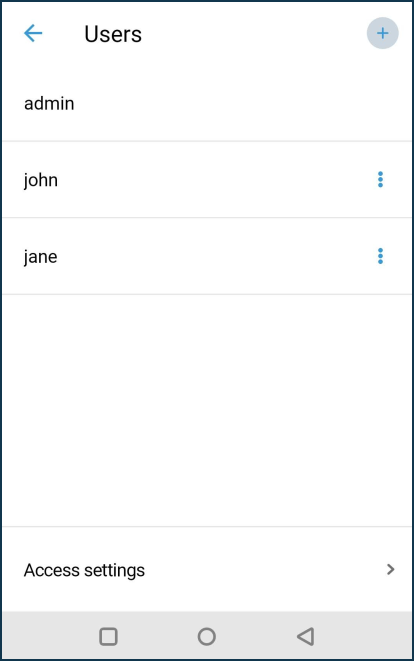
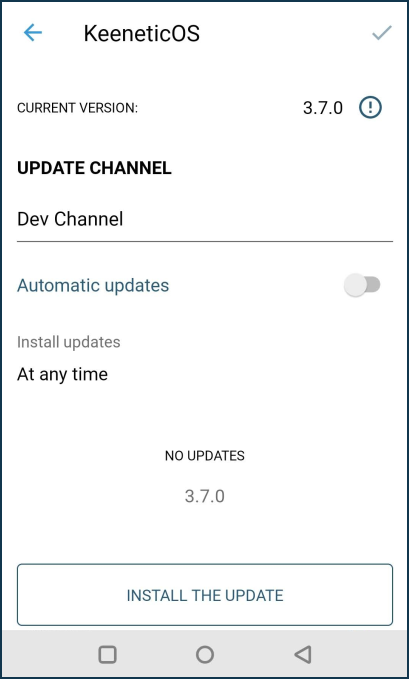
The 'Management' screen contains user settings, KeeneticOS upgrades or component installation/removal, system log, device reset and factory reset buttons.
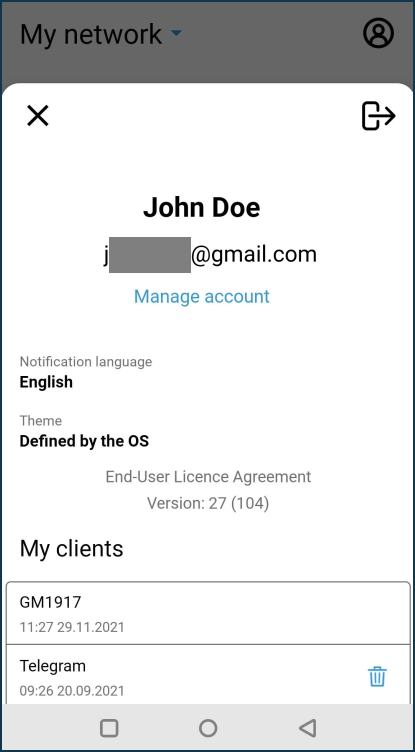
On the Sites screen, clicking on the profile icon (in the upper right corner) allows you to enter the account management settings to change your name or email address. Also, here you can change the notification language and the application's theme (light and dark interface available).
