IKEv2/IPsec VPN server
From KeeneticOS 3.5 onwards, Keenetic routers feature a Virtual IP IKEv2 server based on a SSL certificate.
IKEv2 (Internet Key Exchange) is a version 2 key exchange protocol included in the IPSec protocol suite. It provides high data security, speed and stability.
IKEv2 VPN server allows authenticated users to connect to your home network resources over the Internet securely. Clients for connecting to the IKEv2 server are available in Windows, macOS and iOS operating systems, as well as popular Linux distributions and Blackberry devices.
The IKEv2 tunnelling protocol is part of the IPSec protocol, transmitting data over UDP ports 500 and/or 4500 and secured by solid 3DES/AES encryption algorithms. With its security, stability and speed, IKEv2 is currently one of the best VPN solutions for mobile users.
Important
The Keenetic router on which the IKEv2 VPN server will run must be connected to the Internet with a public IP address, and if using the KeenDNS domain name, it must be configured in 'Direct Access' mode. If any of these conditions are not met, connection to such a server from the Internet will not be possible.
The IKEv2 server in the current implementation only allows access from the client side to the server's home network. Access from the server network to the client's home network by adding an automatic route through the IP address issued to the client, as in the case of other VPN servers, is not possible.
The IKEv2 VPN server uses the IKEv2 EAP (Login/Password) connection type, using username and password as the login data type. Specify the 'User' authentication type when setting up a connection on the client.
To set up secure IKEv2 connections on your Keenetic router, you need to install the 'IKEv1/IPsec and IKEv2/IPsec VPN servers, L2TP/IPsec VPN client, Site-to-site IPsec VPN' system component. You can do this in the web interface on the 'General system settings' page under 'KeeneticOS update and component options' by clicking on 'Component options'.

After that, go to the Applications page. Here you will see the 'IKEv2/IPsec VPN server' panel.
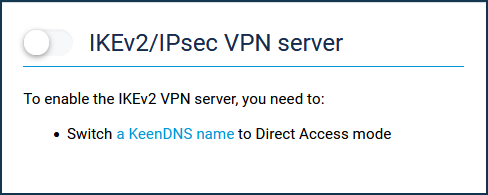
For the server to work, you need to register the router with the KeenDNS cloud service, getting the name from the *.keenetic.link, *.keenetic.pro or *.keenetic.name domain that supports SSL security certificate operation. Otherwise, the client connecting to the server will not be able to establish a trusted HTTP connection. You will find information on how to register the KeenDNS name in the article 'KeenDNS service'.
From the Applications page, click on the link 'IKEv2/IPsec VPN server'.
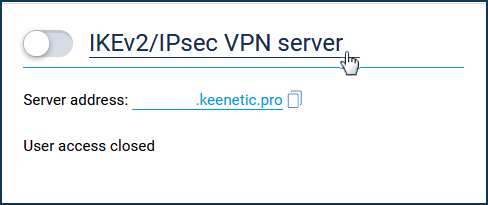
Set up the server.
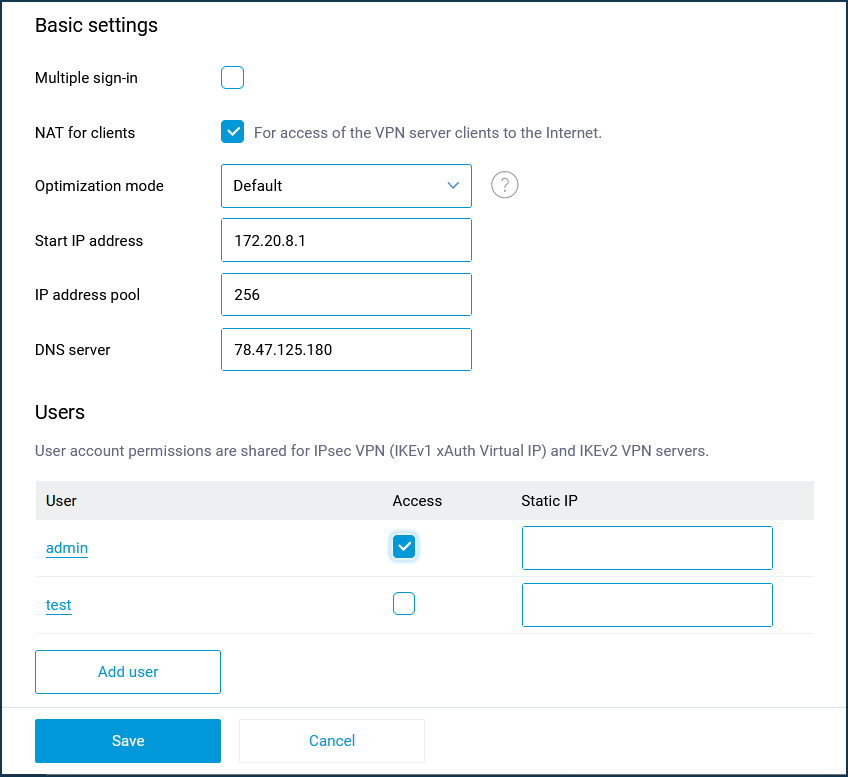
The 'Multiple sign-in' option controls the ability to establish multiple simultaneous connections to a server using the same credentials. This is not a recommended scenario due to reduced security and inconvenient monitoring. However, the option can be left enabled for initial setup or for cases where you want to allow tunnel installation from multiple devices of the same user.
Several clients can be connected with one login and password.
Important
When the 'Multiple sign-in' option is disabled, it is possible to assign a permanent IP address to the IKEv2 client. This can be done on the IKEv2 VPN server settings page under 'Users'.
In the default server settings, the 'NAT for clients' option is enabled. This setting is used for VPN server clients access to the Internet.
The total number of possible simultaneous connections is set by the IP address pool size setting. Like the initial IP address, it is not recommended to change this setting unless necessary.
Important
The specified subnet of IP addresses must not match or overlap with the IP addresses of other interfaces of the Keenetic router, as this may cause an address conflict.
In the settings of the IKEv2 VPN server, there is a 'DNS server' field. It is related to the specifics of the server operation. Usually, two IP addresses are used in VPN servers during connection establishment: client and server (router) addresses, and the router address is used by clients as a DNS server. And the IKEv2 VPN server does not have a router address, so you have to specify the DNS server address. If it is not specified, the client will not be able to resolve any name. The default DNS server is 78.47.125.180 (this is the IP we purchased for the name my.keenetic.net). Requests to this address are intercepted by the router and the result is the same as if the address of the router in the home network (192.168.1.1) was specified in this field, except that the latter can be changed by the user, and then it must be changed in the VPN server settings, and 78.47.125.180 is always intercepted. By getting 78.47.125.180, the client will pass all DNS queries to Keenetic, and it will already pass them to its DNS servers obtained from the provider or manually prescribed.
Important
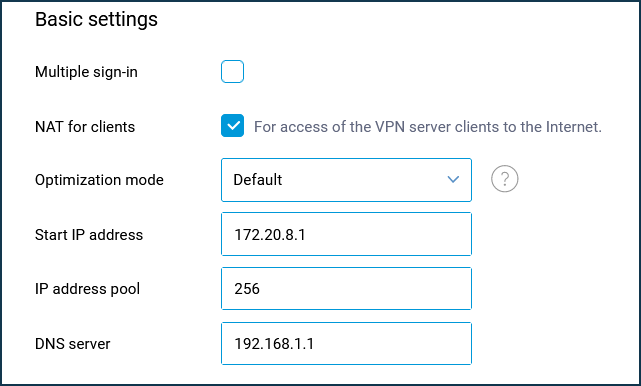
When connecting from Keenetic (IKEv2 VPN client) to Keenetic (IKEv2 VPN server), you have to specify the IP address of the Home network (Home segment) as a DNS server on the VPN server. For example:
In the Users section, select the users you want to allow access to the IKEv2 server and the local network. You can also add a new user by specifying a name and password here.
User access permissions to the IPSec VPN (IKEv1 xAuth Virtual IP) and IKEv2 VPN servers are common.
After configuring the server, set the switch to Enabled.
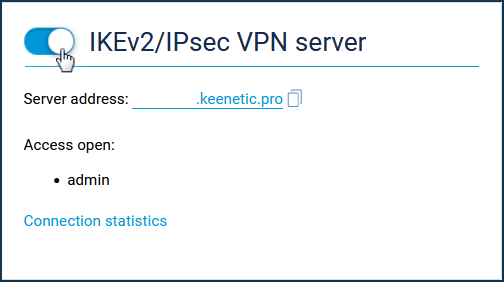
You can see the connection status and additional information about active sessions by clicking on the 'Connection statistics' link.

You can also use any Keenetic router (with KeeneticOS version 3.5 or higher) as a client by creating an IKEv2 client connection or a Windows computer (built-in support for IKEv2 connections has been available since Windows 7).
Important
You can also use any Keenetic router (with KeeneticOS version 3.5 or higher) as a client by creating an IKE client connection.
It is also possible to use Windows-based mobile devices (built-in support for IKEv2 connections has been available since Windows 7), MacOS, and iOS.
To connect to the VPN server as a client on your mobile device, we recommend using the popular strongSwan VPN client. Additional information is available here: Connecting to an IKEv2 VPN server from Android.
Important
The IKEv2 server in KeeneticOS 3.5 version does not pass the route to the Keenetic home network to the clients, so it can only be accessed by setting the default gateway in remote network or manually adding a route on the IKEv2 client. As of KeeneticOS 3.6, the route to the home network is automatically transferred and a command has been added to transfer routes to other networks:
crypto map VirtualIPServerIKE2 virtual-ip dhcp route {address} {mask}where
{address}{mask}— the address and mask of the corresponding network.